Striped Crochet Potholder Pattern
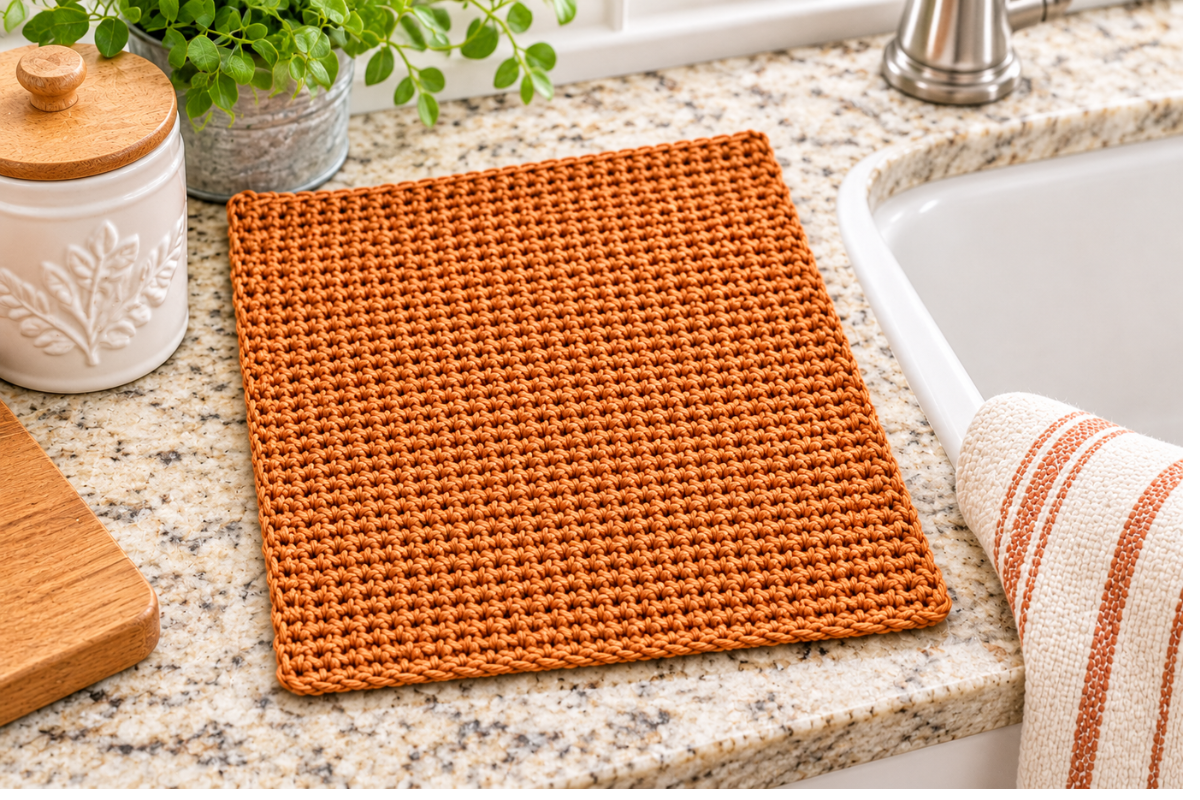
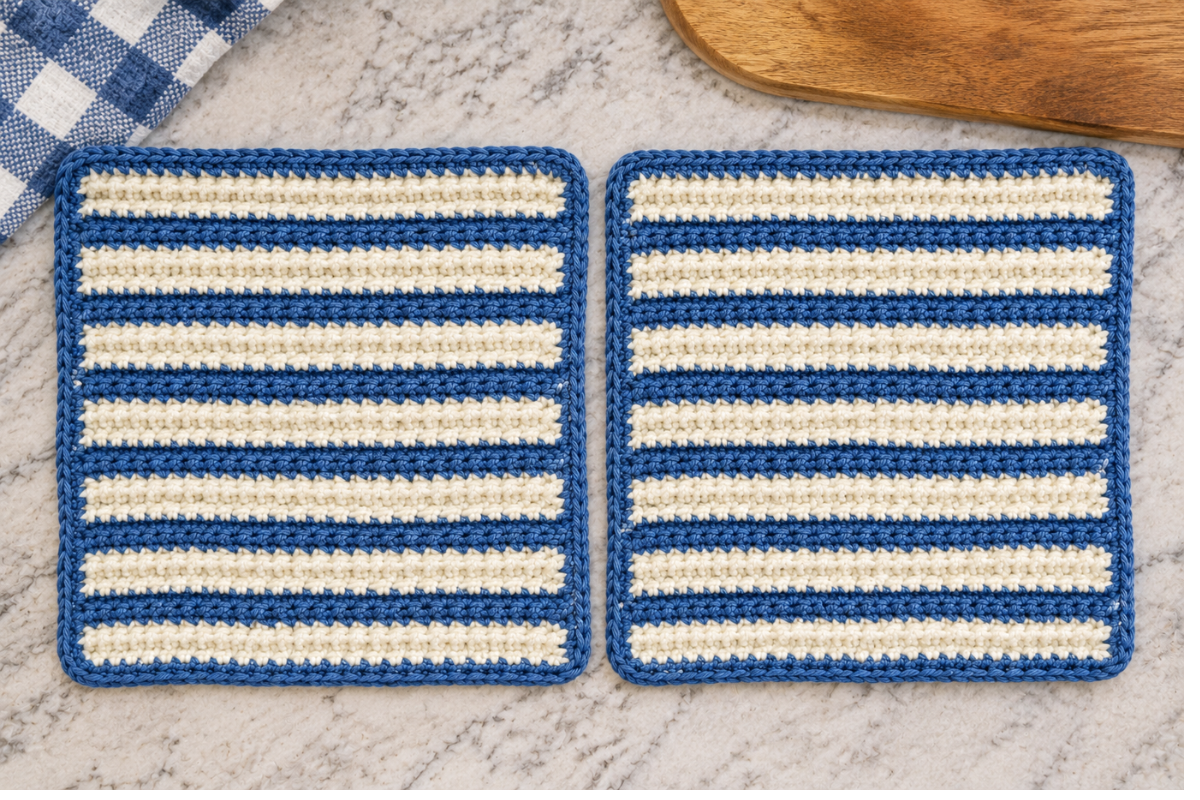
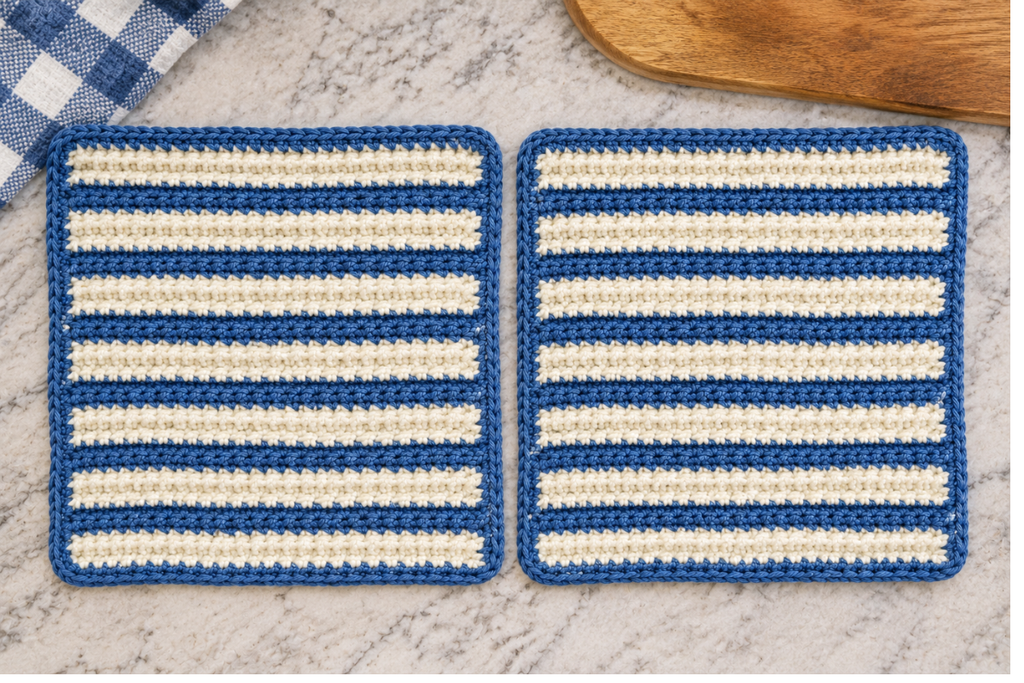
I love crochet projects that are simple, useful, and pretty enough to display around the house. This striped crochet potholder is one of those projects! It uses basic single crochet stitches and a simple color-changing pattern to create a farmhouse-style potholder that looks lovely in any kitchen.
One of my favorite things about this pattern is how easy it is to customize. I chose a combination of white and blue for a soft, neutral look, but you could use your favorite colors to match your kitchen or the season. Think red and white for Christmas, blue and white for a coastal look, or classic black and white for a more modern farmhouse style.
These potholders are also wonderful handmade gifts. Make a pair for a housewarming gift, Mother’s Day, a birthday, or add them to a kitchen gift basket with a pretty dish towel and wooden spoon.
If you enjoy quick crochet projects that don’t require complicated stitches or a lot of counting, I think you’ll really enjoy making these striped crochet potholders. Grab your cotton yarn and crochet hook, and let’s get started!
This pattern creates an approximately 8 x 8-inch cotton potholder with a simple striped design. You will make two matching potholders and finish the edges with a crochet border.
Finished Size
Approximately 8 x 8 inches (20 x 20 cm).
Materials
- Worsted-weight cotton yarn (100% cotton)
- White – 296 yards (100 g)
- Blue – 220 yards (50 g)
- U.S. size G-6 / 4 mm crochet hook
- Smaller crochet hook, size F-5 / 3.75 mm, for edging
- Scissors
- Yarn needle
Gauge
19 single crochet stitches in pattern with the larger hook = 4 inches (10 cm).
Abbreviations (US Terms)
- ch – Chain
- sc – Single crochet
- st – Stitch
- sts – Stitches
- sl st – Slip stitch
- BLO – Back loop only
- WS – Wrong side
Instructions
With the larger crochet hook and White yarn, chain 34.
Main Potholder
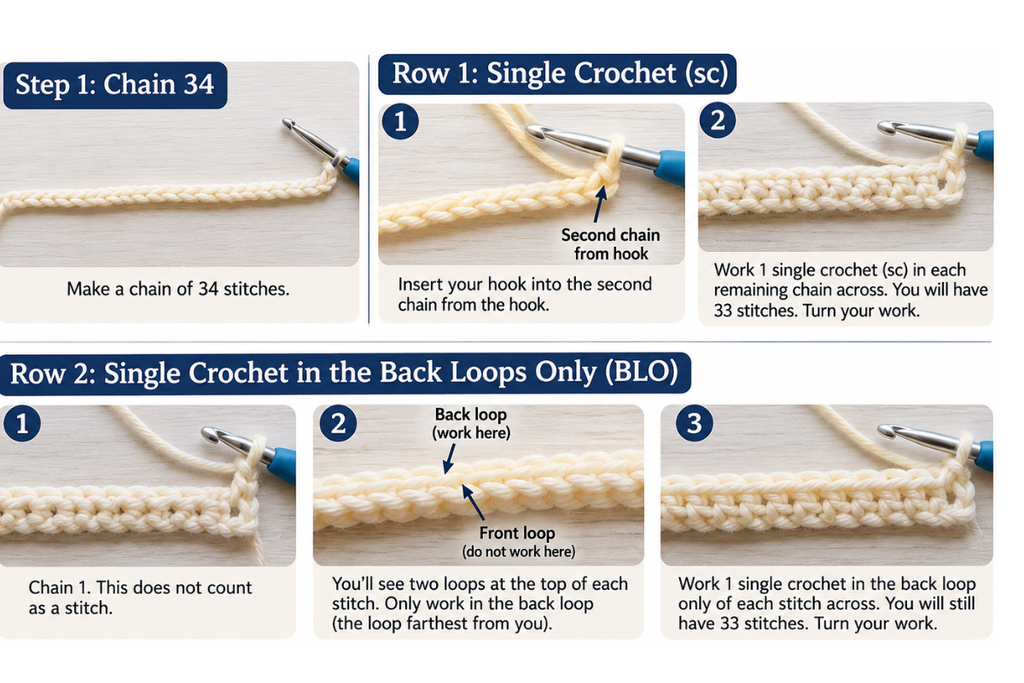
Row 1: Single crochet in the second chain from the hook. Work 1 single crochet in each remaining chain across. (33 stitches) Turn.
Row 2: Chain 1. Working in the back loops only, single crochet in each stitch across. (33 stitches) Turn.
Row 3: Repeat Row 2.
Row 4: Change to Blue yarn. Chain 1 and work single crochet in the back loops only across. Turn.
Row 5: Repeat Row 2.
Row 6: Change to White yarn. Chain 1 and work single crochet in the back loops only across. Turn.
Rows 7–9: Repeat Row 2.
Row 10: Change to Blue yarn. Work as Row 2.
Row 11: Repeat Row 2.
Row 12: Change to White yarn. Work as Row 2.
Rows 13–15: Repeat Row 2.
Row 16: Change to Blue yarn. Work as Row 2.
Row 17: Repeat Row 2.
Row 18: Change to White yarn. Work as Row 2.
Rows 19–21: Repeat Row 2.
Row 22: Change to Blue yarn. Work as Row 2.
Row 23: Repeat Row 2.
Row 24: Change to White yarn. Work as Row 2.
Rows 25–27: Repeat Row 2.
Row 28: Change to Blue yarn. Work as Row 2.
Row 29: Repeat Row 2.
Row 30: Change to White yarn. Work as Row 2.
Rows 31–33: Repeat Row 2.
Row 34: Change to Blue yarn. Work as Row 2.
Row 35: Repeat Row 2.
Row 36: Change to White yarn. Work as Row 2.
Rows 37–38: Repeat Row 2.
Fasten off.
Edging
Switch to the smaller 3.75 mm crochet hook and White yarn.
Round 1
Attach White yarn in the first stitch of any corner.
First Side: Chain 1. Work 1 single crochet in the same stitch. Work 1 single crochet in each stitch across to the next corner. Work 3 single crochet stitches in the corner stitch.
Second Side: Work 1 single crochet in each row-end stitch along the next side. Make sure the edge stays flat and does not become ruffled or puckered. Work 3 single crochet stitches in the corner.
Third Side: Work 1 single crochet in each stitch across the foundation chain. Work 3 single crochet stitches in the corner.
Fourth Side: Work 1 single crochet in each row-end stitch along the final side. Finish with 1 single crochet in the first stitch where you started. Join with a slip stitch.
Round 2 – Hanging Loop (optional)
Chain 10 to create a hanging loop.
Skip 1 stitch and slip stitch into the next stitch to form the loop.
Continue working 1 slip stitch in each stitch around the entire potholder, stopping just before the last corner.
Cut the yarn and fasten off.
Finishing
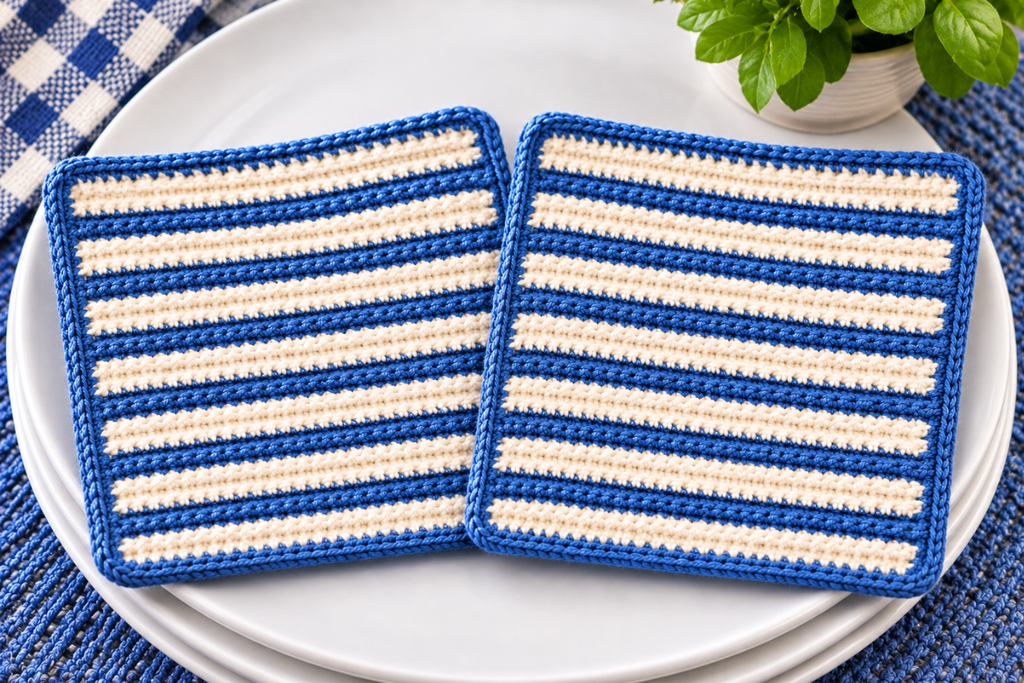
- Weave in all loose yarn ends neatly on the wrong side.
- Gently steam press the potholder to help it lay flat.
- Make a second potholder using the same instructions.
Frequently Asked Questions
Is this striped crochet potholder beginner-friendly?
Yes! This is a great beginner crochet project. It uses basic single crochet stitches, simple color changes, and a straightforward edging.
What type of yarn should I use?
Use 100% cotton worsted-weight yarn. Cotton is a good choice for kitchen projects because it is durable and handles heat better than acrylic yarn.
Can I use different colors?
Absolutely! You can customize the stripes with any combination of cotton yarn colors. Choose colors that coordinate with your kitchen or make seasonal potholders.
How big is the finished potholder?
The finished potholder measures approximately 8 x 8 inches, making it a practical size for everyday kitchen use.
Can I make these as gifts?
Definitely! Make two matching potholders and tie them together with a ribbon for a simple handmade gift. They are perfect for housewarmings, birthdays, holidays, and Mother’s Day.
Do I need to make two potholders?
The pattern instructions make one potholder. I recommend making a second one so you have a matching set.
Can I use acrylic yarn instead of cotton?
I recommend sticking with 100% cotton yarn. Acrylic yarn can melt when exposed to high heat
Want More Crafting Ideas?
We add new projects weekly. Make sure and check all of our current projects available: