Free Ribbed Crochet Beanie Pattern
If you’re looking for a free ribbed crochet beanie pattern that’s easy to follow and has a beautiful knit-like texture, you’re going to love this project!
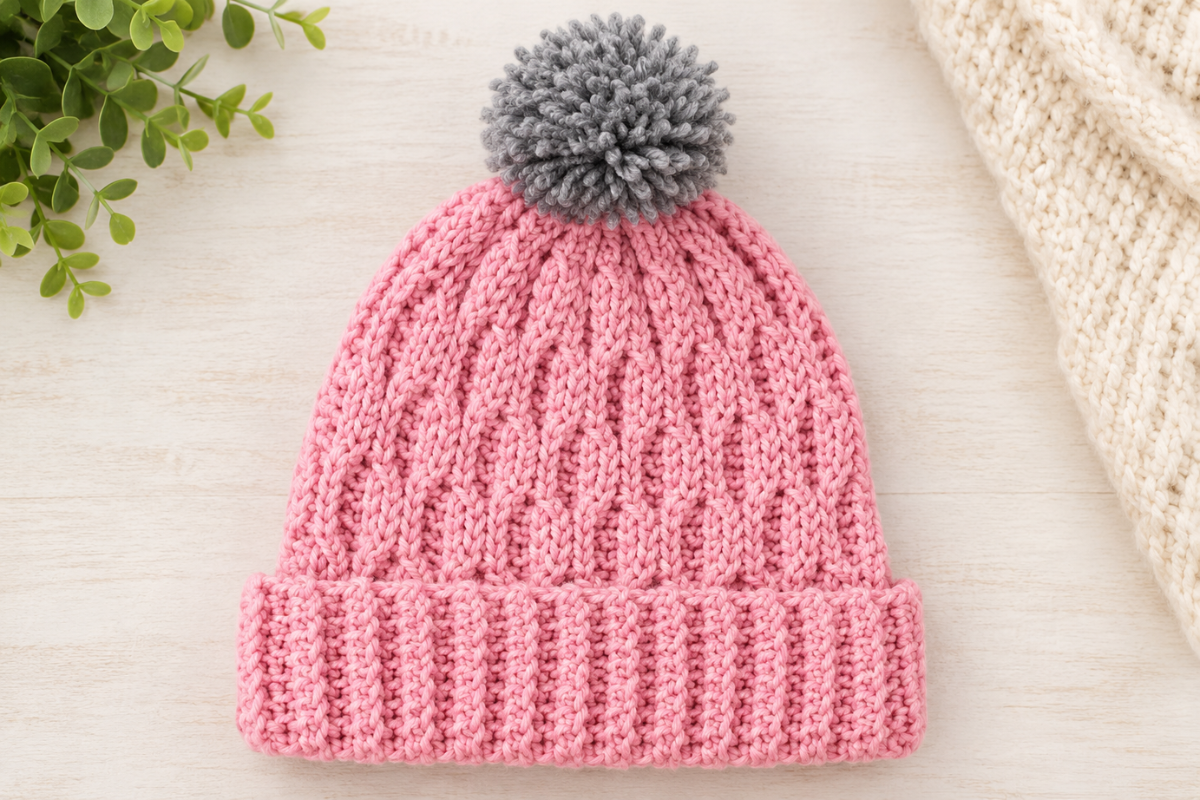
This easy crochet beanie is made with worsted-weight yarn and a 5 mm crochet hook. Instead of working in the round, you’ll crochet a rectangle using a combination of single crochet, half double crochet, and slip stitches. The back loop stitches create the ribbed texture that gives this hat its classic look.
Once you’ve finished crocheting the rows, you’ll sew the rectangle together, gather the top to close the crown, and add a pom-pom if you’d like.
This free ribbed crochet beanie pattern is a great project for someone who has learned the basic crochet stitches and is ready to make their first or next crochet hat.
The sample is made in a vibrant pink yarn, but you can use any color of worsted-weight yarn to make a beanie that matches your style.
Why You’ll Love This Ribbed Crochet Beanie
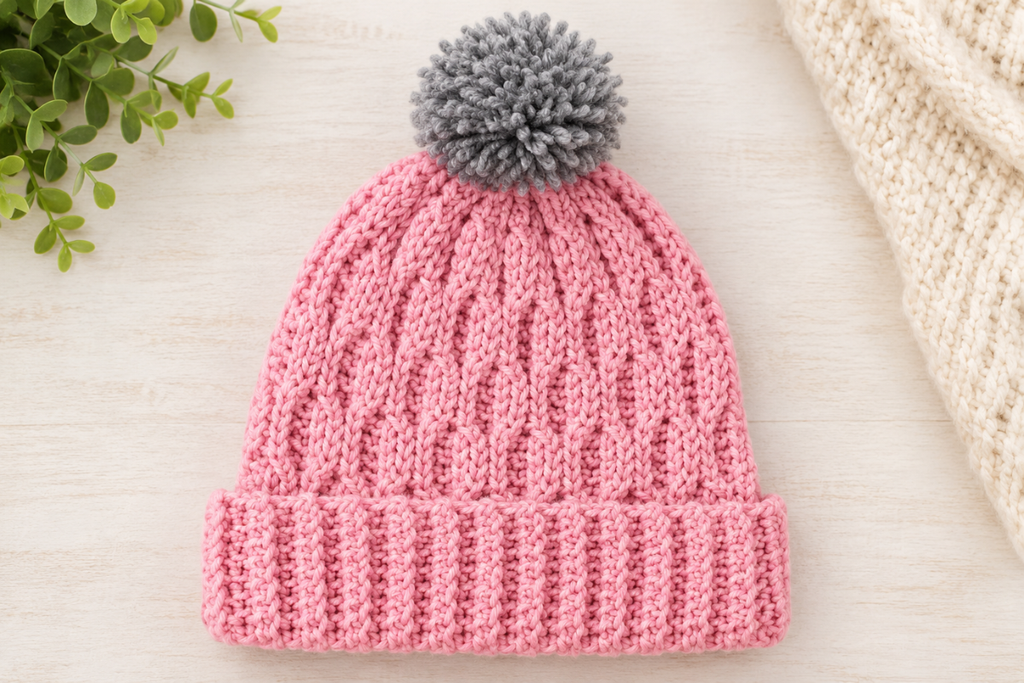
There are several reasons this free ribbed crochet beanie pattern is a fun project to make.
- Easy stitches: You’ll use single crochet, half double crochet, and slip stitches.
- Beautiful texture: Working in the back loops creates a ribbed texture that resembles knitting.
- Worked flat: You don’t need to know how to crochet in the round.
- Simple construction: Crochet a rectangle, sew the sides together, and gather the crown.
- Customizable: Choose your favorite yarn color and add a pom-pom if you like.
If you’ve made a few crochet projects and want to try making a hat, this is a great pattern to add to your project list.
Materials for the Free Ribbed Crochet Beanie Pattern
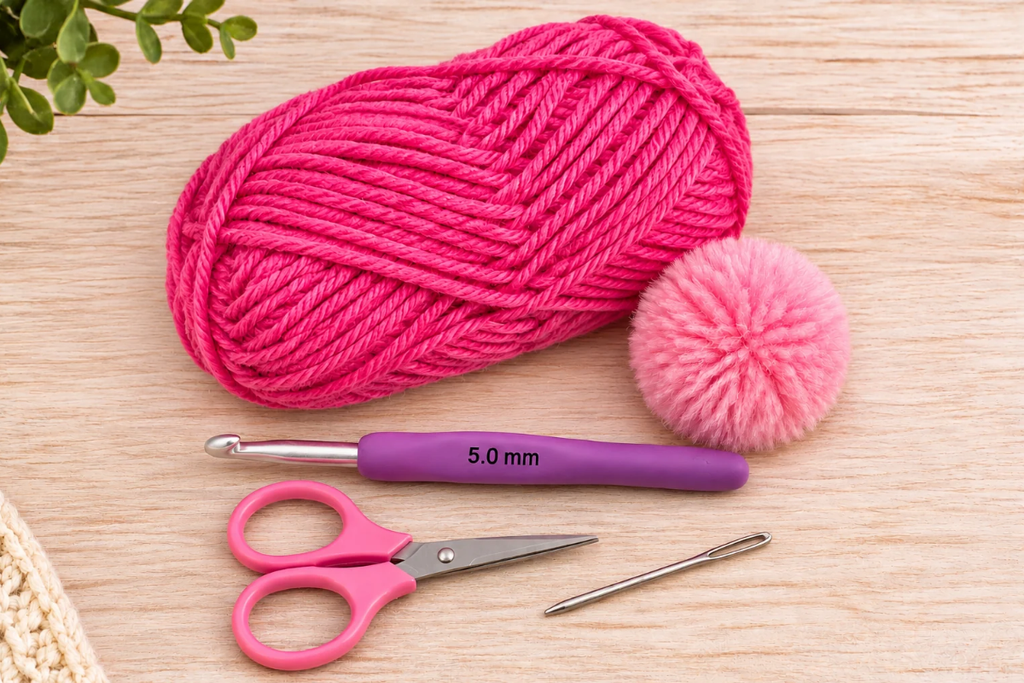
You’ll need just a few basic supplies to make this crochet beanie.
- Worsted-weight yarn (Category 4)
- 5 mm crochet hook
- Scissors
- Tapestry needle
- Pom-pom (optional)
Yarn: The sample beanie is made with vibrant pink worsted-weight yarn. You don’t need to use the same color or brand. Any worsted-weight yarn that gives you a comfortable fabric and the desired gauge can be used.
Crochet Abbreviations (US Terms)
This pattern uses standard US crochet terminology.
- Ch – Chain
- Sc – Single crochet
- Hdc – Half double crochet
- Sl st – Slip stitch
- BLO – Back loop only
- St(s) – Stitch(es)
Pattern Information
- Skill Level: Easy / Advanced Beginner
- Project Type: Adult crochet beanie
- Construction: Worked flat in rows
- Yarn Weight: Worsted weight (Category 4)
- Hook Size: 5 mm
- Color: Vibrant pink in the sample; any color may be used
- Pom-Pom: Optional
The finished fit will depend on your individual crochet tension and gauge. Keep your slip stitches relaxed so the fabric doesn’t become too tight.
How to Crochet a Ribbed Beanie
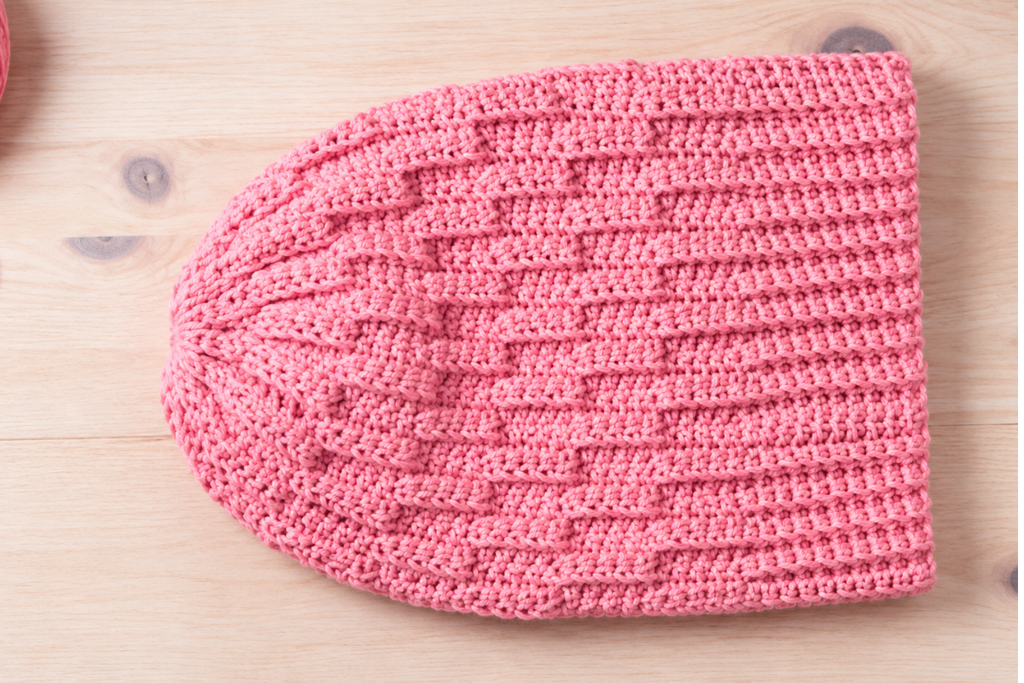
This free ribbed crochet beanie pattern is worked in rows to create a rectangular piece of textured crochet fabric.
You’ll alternate sections of single crochet, half double crochet, and slip stitches. Beginning with Row 2, all stitches are worked in the back loops only.
The back loop stitches create the raised ridges that give the beanie its ribbed appearance.
Once you’ve completed all 57 rows, you’ll join the sides, gather the crown, and finish your hat.
Free Ribbed Crochet Beanie Pattern Instructions
Foundation Chain
Ch 46.
Row 1
Starting in the second chain from the hook, work 10 sc.
Repeat the following sequence 3 times:
- 5 sl st
- 5 hdc
You should have 5 chains remaining.
Work 5 sl st in the last 5 chains.
Ch 1 and turn.
Row 2
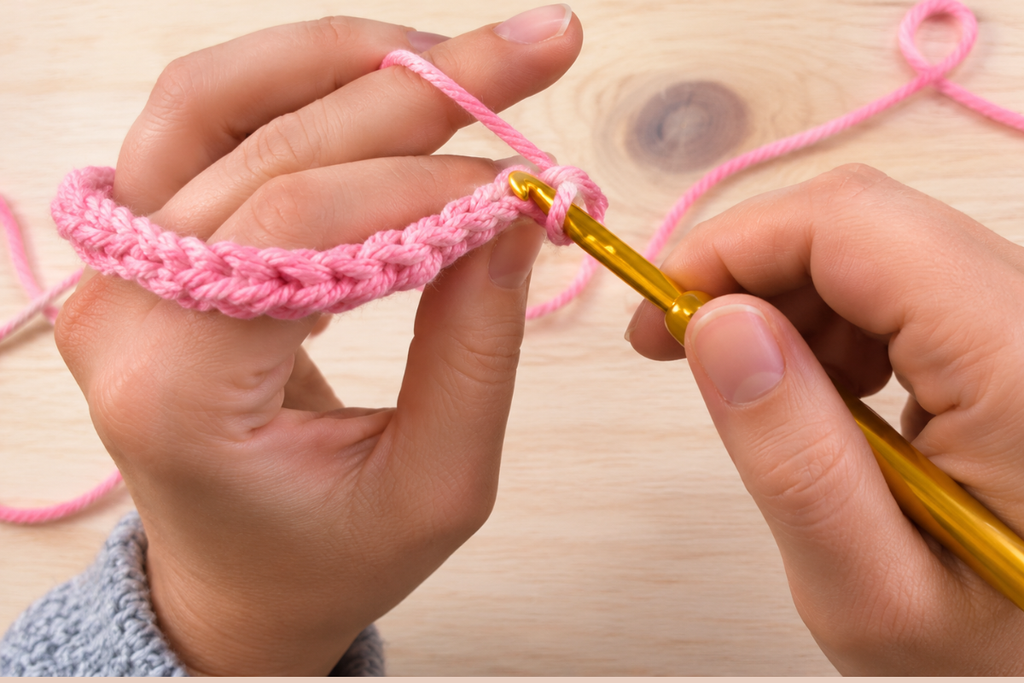
Working in the back loops only (BLO):
- Ch 1 and turn.
- Working in BLO, work 5 sl st. Repeat 5 BLO hdc, 5 BLO sl st 3 times.
- Work 10 BLO sc in the remaining stitches.
- Ch 1 and turn.
Row 3
Working in BLO:
- Work 10 sc.
- Repeat the following sequence 3 times:
- 5 hdc
- 5 sl st
- Work 5 sl st in the remaining stitches.
Ch 1 and turn.
Row 4
Working in BLO:
- Work 5 sl st.
- Repeat the following sequence 3 times:
- 5 sl st
- 5 hdc
- Work 10 sc in the remaining stitches.
Ch 1 and turn.
Row 5
Working in BLO:
- Work 10 sc.
- Repeat the following sequence 3 times:
- 5 sl st
- 5 hdc
- Work 5 sl st in the remaining stitches.
Ch 1 and turn.
Repeat the Crochet Pattern
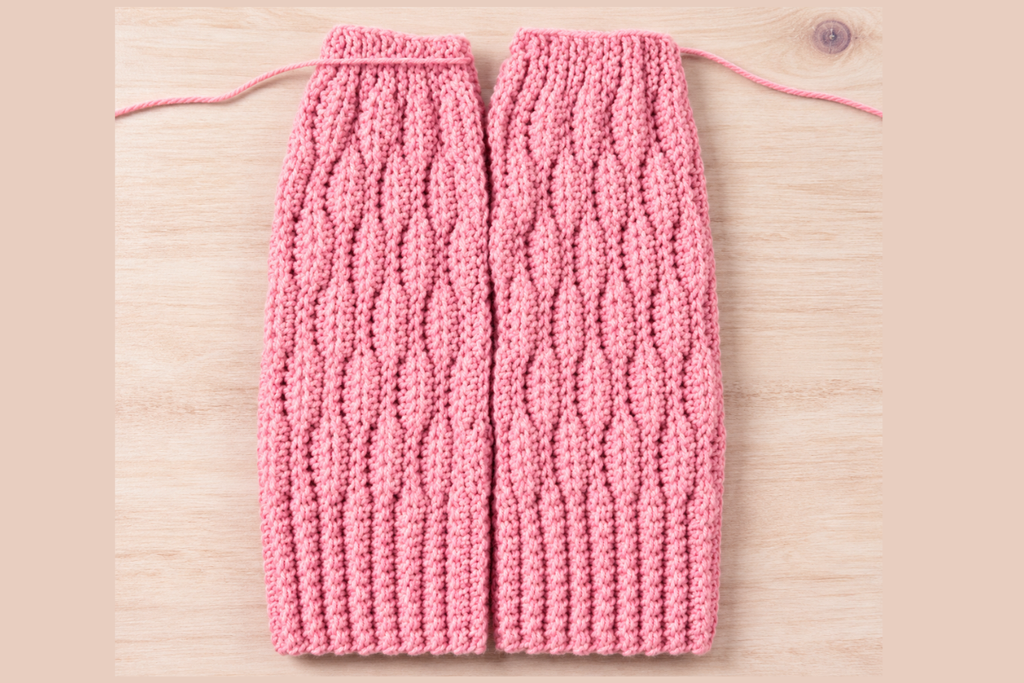
Continue repeating Rows 2–5 until you have completed a total of 57 rows, including Row 1.
You should have a rectangular piece of crochet fabric with a beautiful ribbed texture.
Fasten off, leaving a long yarn tail for sewing.
How to Finish Your Crochet Beanie
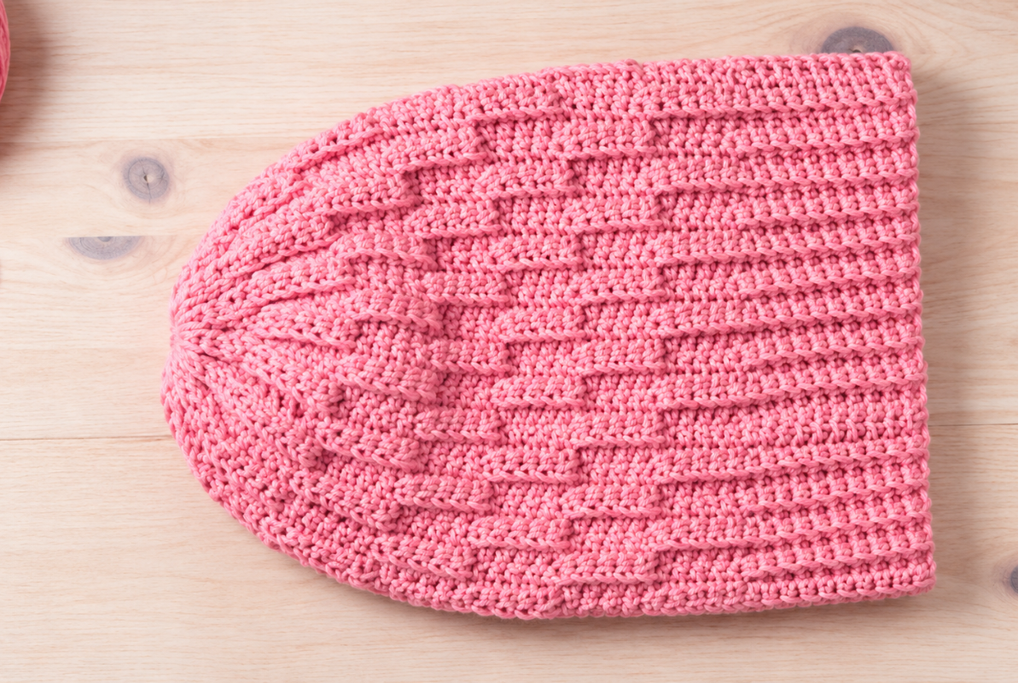
Once you’ve completed all 57 rows, it’s time to turn your rectangle into a beanie.
Step 1: Sew the Sides Together
Bring the beginning and ending row edges together to form a tube.
Thread your tapestry needle with the long yarn tail.
Starting at the crown, sew the edges together, working toward the brim.
Keep your sewing tension relaxed. Pulling too tightly can cause the stitches to bunch together and make the seam look gathered.
Continue sewing until the sides are joined.
Step 2: Gather the Crown
Now it’s time to close the top of your beanie.
Thread your tapestry needle with a length of yarn.
Working around the top opening of the hat, weave your needle in and out through the stitches. Leave approximately 1 inch between your gathering points.
Continue all the way around the crown.
Once you’ve gone all the way around, pull the yarn tightly to gather the opening closed, just like closing a drawstring bag.
Tie two secure knots to hold the crown together.
For extra security, weave the yarn through the gathered stitches several more times before fastening off.
Step 3: Weave in the Ends
Use your tapestry needle to weave in all remaining yarn ends.
Turn your hat right side out so the textured ribbed side is facing outward.
Your crochet beanie should now have a nice gathered crown and a finished ribbed appearance.
Step 4: Add an Optional Pom-Pom
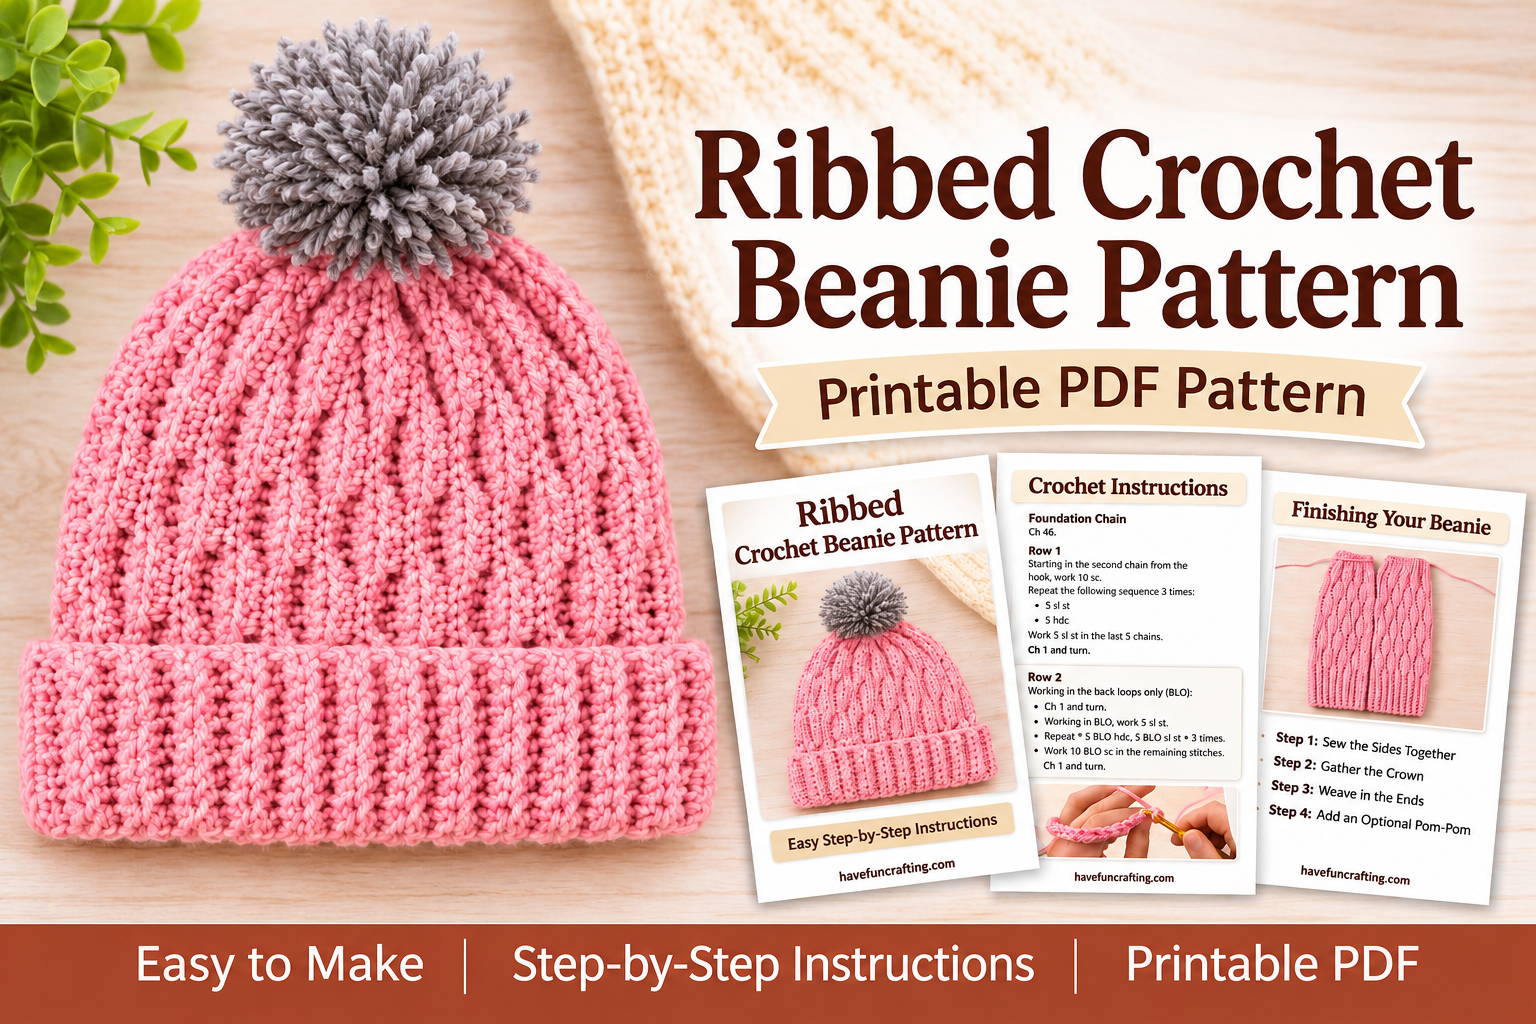
Adding a pom-pom is a fun way to finish your free ribbed crochet beanie pattern.
You can use a colorful yarn pom-pom or a faux-fur pom-pom.
To attach it, use your crochet hook or tapestry needle to pull the pom-pom ties through the center of the crown.
Tie the ends securely on the inside of the hat.
If you’d like to be able to remove the pom-pom for washing, use a removable attachment instead of permanently sewing it in place.
You can also leave the pom-pom off for a simple, classic beanie look.
Tips for Making Your Ribbed Crochet Beanie
Here are a few tips to help you get the best results when making this crochet hat.
Keep your slip stitches loose. Slip stitches can become tight easily. If your tension is too tight, it may be difficult to work into the stitches on the next row.
Count your stitches. Each row should have 45 stitches. Counting your stitches will help keep your rectangle consistent.
Use any color you like. The sample uses vibrant pink yarn, but this pattern looks great in neutrals, pastels, or your favorite seasonal colors.
Pay attention to your gauge. Your crochet tension affects the size and fit of your beanie. A tighter gauge will create a smaller, denser hat, while a looser gauge will create a larger, more relaxed fabric.
Don’t pull the crown too tightly when sewing the side seam. Keep your seam neat and relaxed so the finished hat doesn’t bunch.
Frequently Asked Questions
Is this a beginner-friendly crochet beanie pattern?
Yes! This free ribbed crochet beanie pattern is suitable for crocheters who know the basic stitches and have completed a few projects. You’ll use single crochet, half double crochet, and slip stitches.
Is this crochet beanie worked in the round?
No. This beanie is worked flat in rows. Once the rectangle is complete, you’ll sew the sides together and gather the top to create the hat shape.
What yarn should I use for this ribbed crochet beanie?
Use worsted-weight yarn (Category 4). You can choose any brand or color you prefer.
Can I make this beanie without a pom-pom?
Absolutely! The pom-pom is completely optional. Leaving it off gives the hat a simple, classic appearance.
What makes this crochet beanie ribbed?
The texture comes from working stitches in the back loops only. The alternating sections of slip stitches and half double crochet create raised ridges that resemble knitted fabric.
Is this crochet beanie for adults?
Yes. The pattern is intended for adult sizing. The finished fit will depend on your gauge and tension, so keep that in mind when choosing your hook and yarn.
More Easy Crochet Projects
If you enjoyed making this free ribbed crochet beanie pattern, you might also enjoy trying other easy crochet projects.
Whether you’re making something for yourself, creating handmade gifts, or adding to your collection of crochet accessories, there are plenty of fun projects to try next.
Want More Crafting Ideas?
We add new projects weekly. Make sure and check all of our current projects available: