Easy Beginner Crochet Potholder Pattern
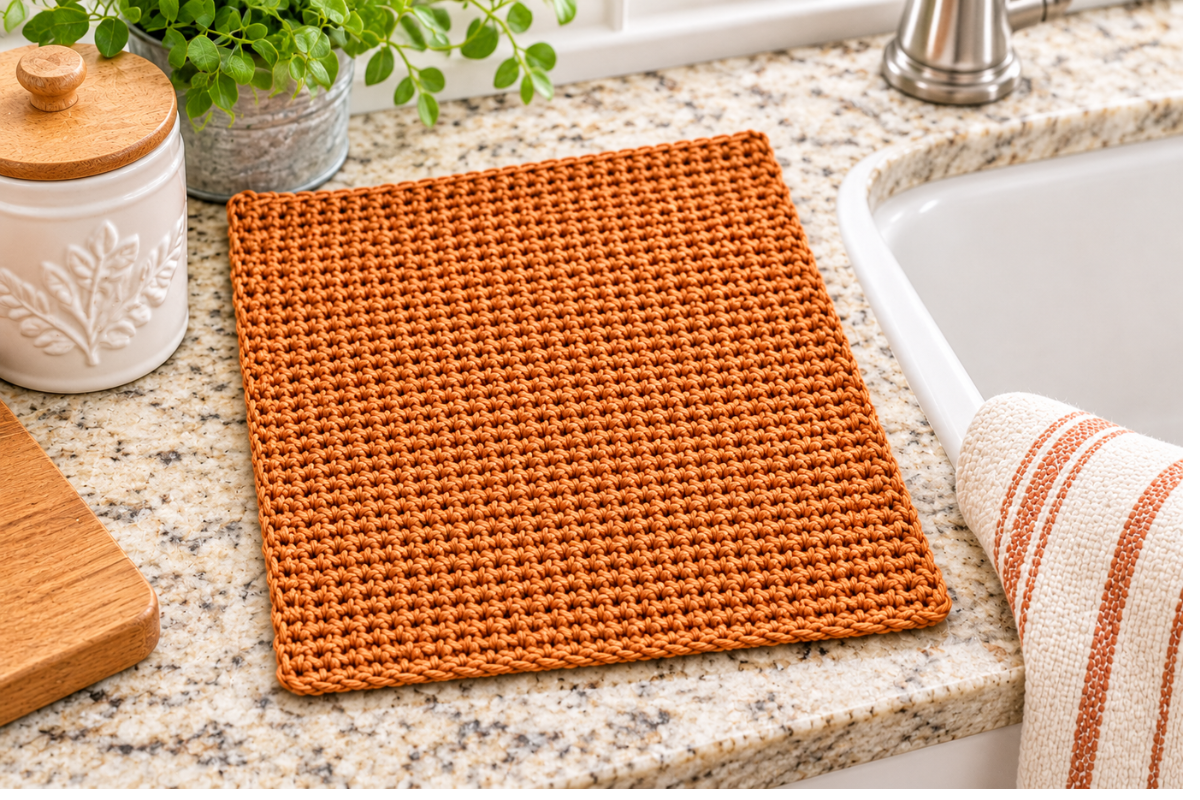
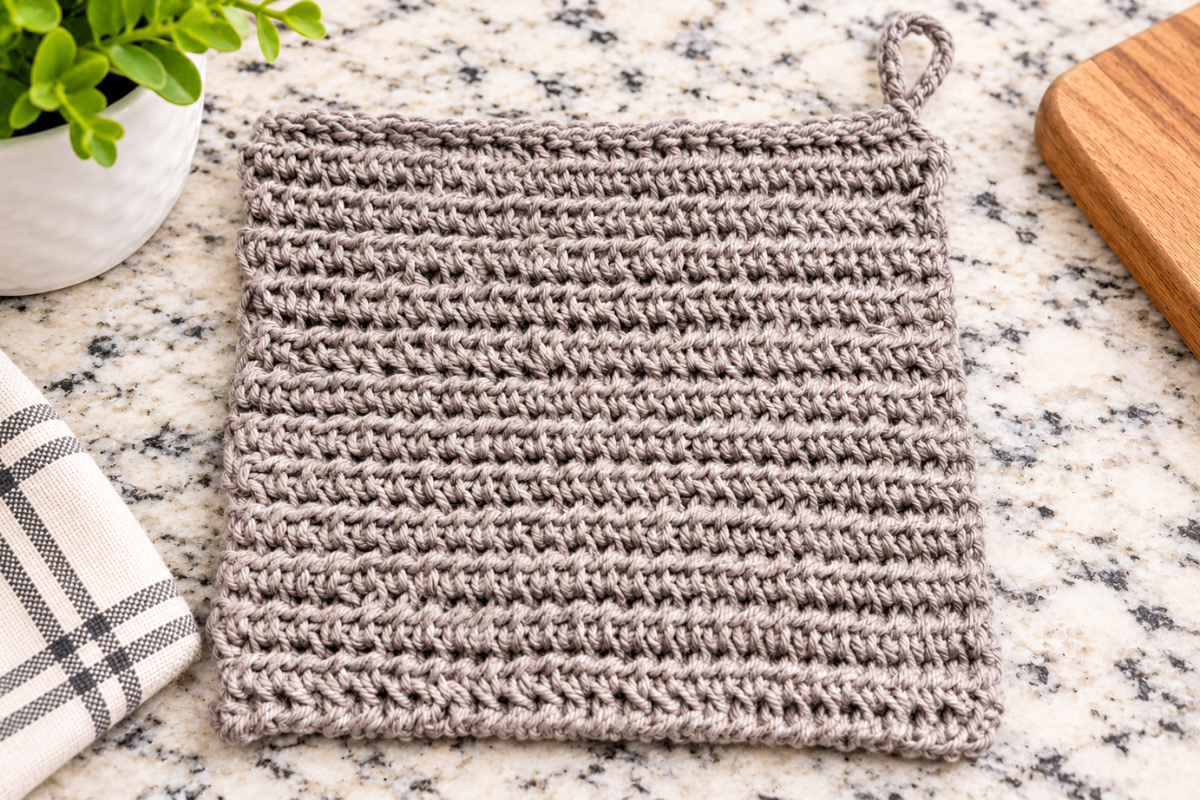
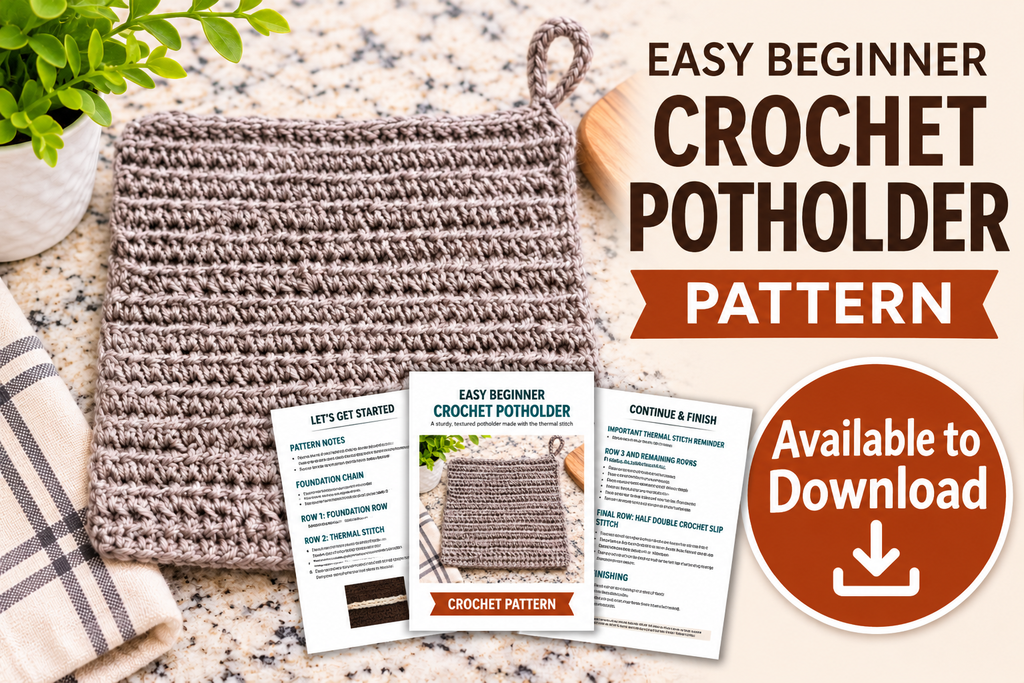
If you’re looking for an easy beginner crochet potholder pattern, this is a fun little project to add to your crochet list! This thick, textured potholder is made using the thermal stitch, which creates a dense fabric that is perfect for a kitchen hot pad. Don’t let the name of the stitch intimidate you. Once you get the hang of working into the two loops, you’ll find that the pattern is easy to follow and makes a beautiful finished project.
This crochet potholder is a great project for beginners who want to practice their stitches and try something a little different. You can make one in an afternoon or finish it in a day, making it a wonderful last-minute handmade gift.
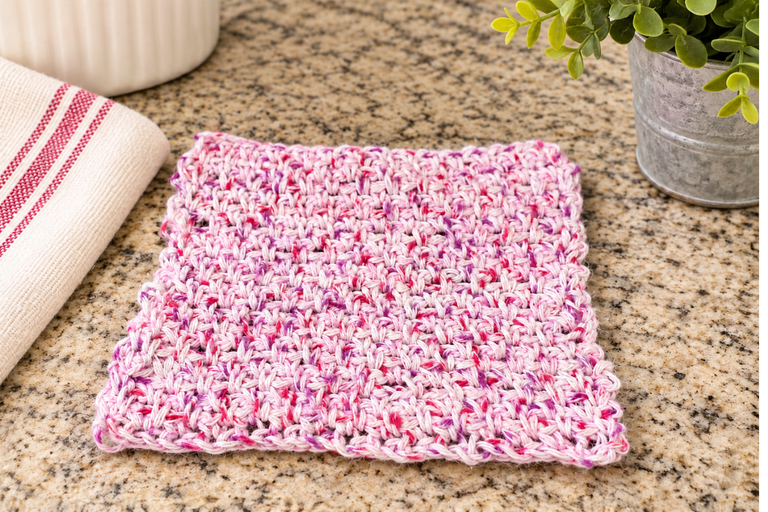
I love projects that are both pretty and practical, and this one definitely fits the bill. Make a matching set or use coordinating colors to create something special. You can even pair your finished potholder with a handmade crochet dishcloth and a pretty kitchen dishtowel to create a thoughtful gift basket.
These handmade kitchen gifts are perfect for birthdays, wedding showers, Christmas, housewarmings, or just because. Add a ribbon and a few kitchen goodies, and you have a gift that looks beautiful and is useful, too!
Let’s get started!
About This Easy Beginner Crochet Potholder
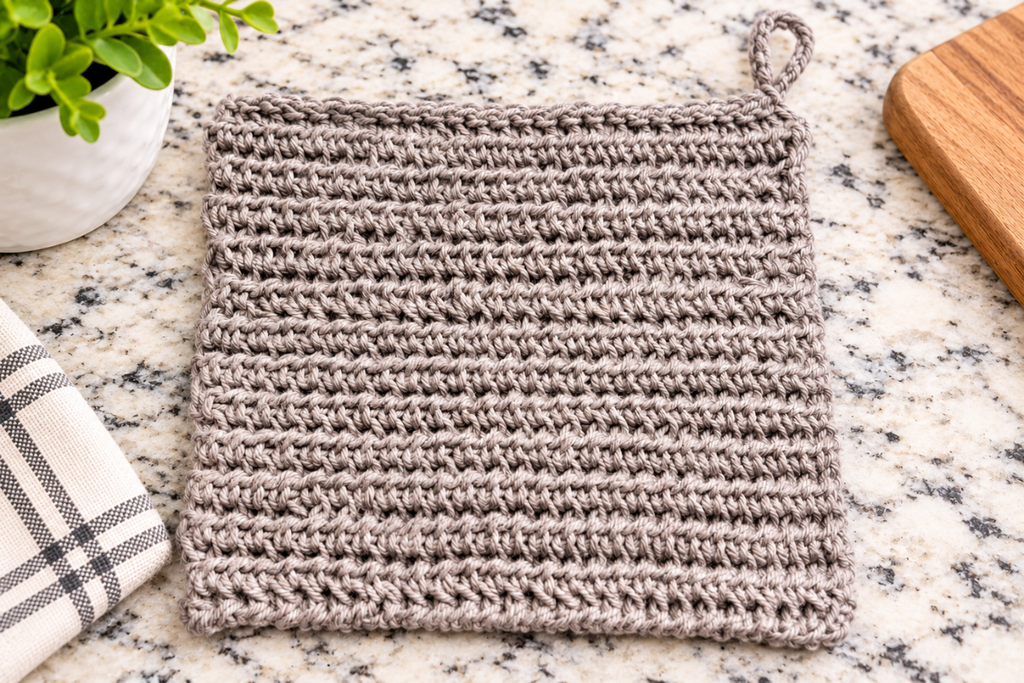
This potholder is worked using a thermal stitch technique that creates a thick, sturdy fabric. Unlike a traditional single-layer crochet piece, the thermal stitch works through two loops, creating extra thickness.
Here are a few reasons you’ll love this pattern:
- Beginner-friendly: A simple stitch pattern that is easy to learn with a little practice.
- Quick project: You can finish one in a day.
- Practical: A thick, textured kitchen accessory.
- Great for gifts: Perfect for birthdays, Christmas, and wedding showers.
- Easy to customize: Change the width, height, and yarn color to make it your own.
The finished potholder measures approximately 8–9 inches square, depending on your tension and starting chain.
Supplies for the Crochet Potholder
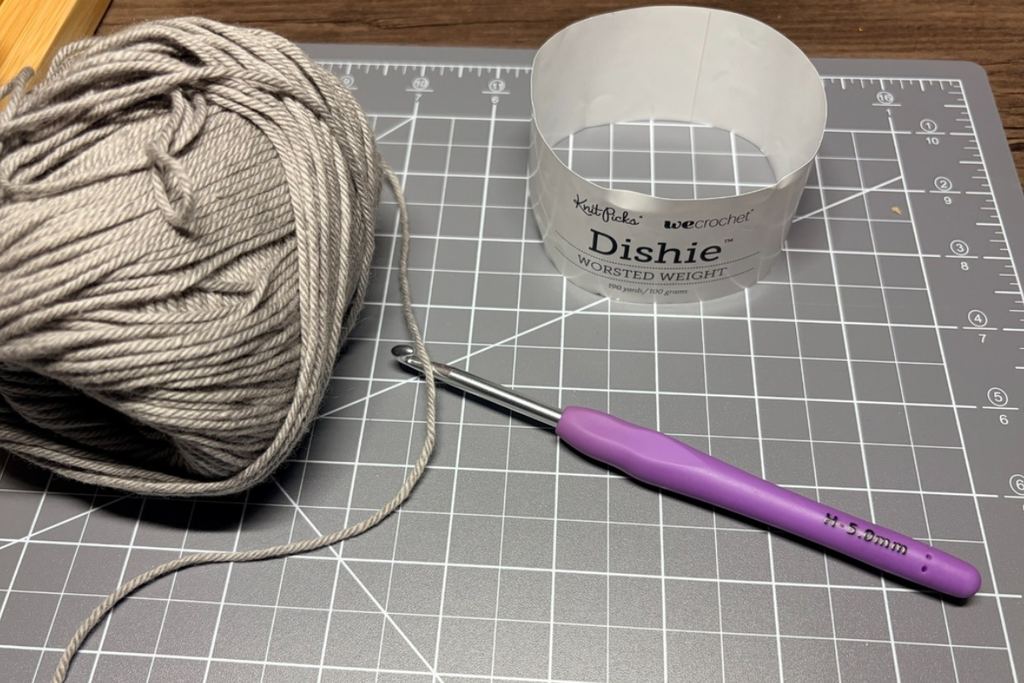
You’ll only need a few basic crochet supplies to make this project.
- Worsted weight cotton yarn (Category 4)
- H (5.0 mm) crochet hook
- Scissors
- Yarn needle for weaving in the ends
Yarn recommendation: Use 100% cotton yarn or a suitable heat-resistant cotton blend. Avoid acrylic, polyester, and other synthetic yarns, as they can melt when exposed to heat.
You will need approximately one skein of yarn per potholder, depending on the size.
Crochet Abbreviations (US Terms)
This pattern uses standard US crochet terminology.
- ch – Chain
- hdc – Half double crochet
- sts – Stitches
- sl st – Slip stitch
Easy Beginner Crochet Potholder Pattern
Skill Level: Beginner
Finished Size: Approximately 8–9 inches square
Pattern Notes:
- The main portion of this pattern is worked without turning your work.
- You will be working into two loops for the thermal stitch.
- Adjust the starting chain to change the width.
- Continue repeating the thermal stitch row until you reach your desired height.
Foundation Chain
- Make a slip knot and place it on your hook.
- Chain 27, or chain any number to achieve your desired width.
- Chain 1 more for your turning chain.
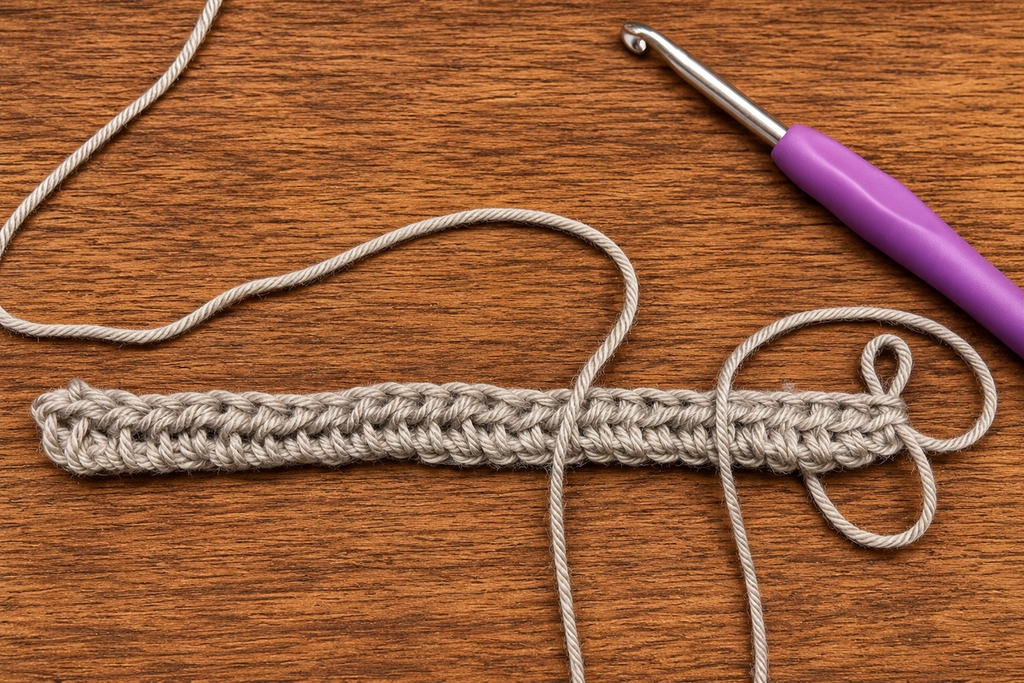
You will have 27 chains and work 26 stitches across.
Row 1: Foundation Row
- Hdc in the second chain from the hook.
- Continue working 1 hdc in the top loop of each chain across.
- You should have 26 hdc.
Row 2: Thermal Stitch
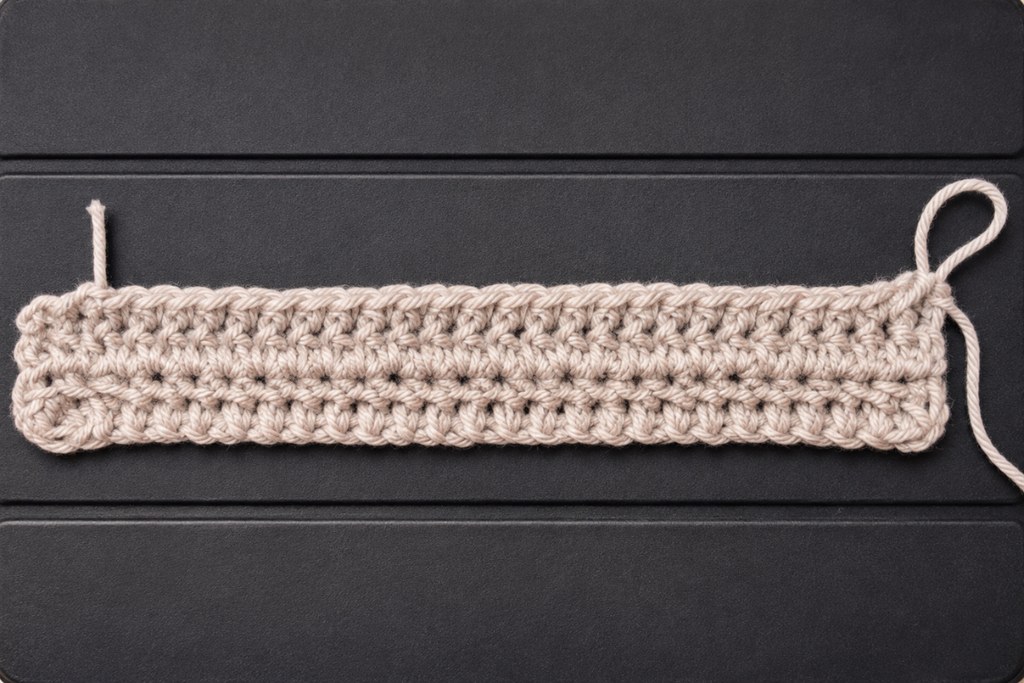
- Ch 1. Do not turn your work.
- Insert your hook into the center of the first hdc (the V at the top of the stitch).
- Pick up only the back loop of that stitch.
- Next, insert your hook into the corresponding unworked loop from the foundation chain directly below.
- Yarn over and pull up a loop through both loops.
- Yarn over and pull through all 3 loops on your hook to complete the hdc.
- Repeat across the row, working into the back loop of each stitch and the corresponding unworked loop from the row below.
Important: You are working into two loops: the back loop of the current stitch and the corresponding unused loop directly below it.
Row 3 and Remaining Rows
- Ch 1. Do not turn your work.
- Insert your hook into the back loop of the first stitch.
- Insert your hook into the corresponding unworked loop directly below.
- Yarn over and pull up a loop.
- Yarn over and pull through all 3 loops to complete the hdc.
- Repeat across the row.
Continue repeating Row 3 until your hot pad reaches your desired height.
Tip: Keep your work facing the same direction throughout the main portion of the pattern. Do not turn your work between rows.
Final Row: Half Double Crochet Slip Stitch
- Ch 1 and turn your work to the back.
- Insert your hook under both loops of the V at the top of the first stitch.
- Insert your hook into the corresponding unworked loop from the row below.
- Yarn over and pull up a loop.
- Without yarning over again, pull the loop through all the loops on your hook.
- Repeat across the row, working into both loops of each stitch and the corresponding loop below.
This creates a neat, sturdy finishing edge.
Finishing
- Ch 1 and pull up a large loop.
- Cut your yarn, leaving a long tail.
- Pull the yarn through the loop to fasten off.
- Thread the yarn tail onto your yarn needle.
- Weave the tail through the stitches on the back of your hot pad.
- Weave back through a few stitches to secure it.
- Repeat with the remaining yarn tail.
Your crochet potholder is finished!
Tips for Making Your Crochet Potholder
Adjust the width: Add or remove foundation chains to make your potholder wider or narrower.
Adjust the height: Continue repeating Row 3 until you reach your desired size.
Make it square: Crochet until the height is approximately the same as the width.
Try different colors: Change colors between rows for a striped potholder or use a solid color for a classic look.
Keep your tension consistent: Try to maintain an even tension as you work. This will help keep your potholder looking neat and uniform.
Turn Your Crochet Potholder Into a Gift Basket
One of my favorite things about handmade projects is finding ways to turn them into thoughtful gifts.
This crochet potholder is a wonderful starting point for a kitchen-themed gift basket. Since it doesn’t take long to make, you can easily crochet a few coordinating pieces to go along with it.
Here are a few ideas to include:
- Handmade crochet potholder
- Matching crochet dishcloth
- Pretty kitchen dishtowel
- Wooden spoon or spatula
- Small bottle of dish soap
- Kitchen hand lotion
- Favorite baking mix or cookie ingredients
Arrange everything in a small basket or gift box and tie it with a coordinating ribbon.
This makes a lovely gift for a birthday, wedding shower, housewarming, or Christmas. You could even make several sets in different colors for gifts throughout the year.
Frequently Asked Questions
Is this crochet potholder pattern good for beginners?
Yes! This is an easy beginner crochet potholder pattern. It uses basic crochet techniques and a repeating thermal stitch. Beginners may need a little practice getting comfortable with working into two loops, but once you understand the technique, the pattern is easy to follow.
How long does it take to crochet a potholder?
You can typically finish this potholder in an afternoon or a day, depending on your crochet speed and experience. It’s a great project when you want something handmade without committing to a large project.
What yarn should I use for a crochet potholder?
Use 100% cotton yarn or a suitable heat-resistant cotton blend. Cotton is a good choice for kitchen projects. Avoid acrylic, polyester, and other synthetic yarns because they can melt when exposed to heat.
What is the thermal stitch in crochet?
The thermal stitch is a technique that creates a thick fabric by working through the back loop of the current stitch and the corresponding unused loop below it. This creates a dense, textured fabric.
Can I make the potholder larger or smaller?
Absolutely! You can adjust the starting chain to change the width of your potholder. To change the height, simply continue repeating the thermal stitch rows until you reach your desired size.
Can I make this potholder in different colors?
Yes! You can use one solid color or change colors between rows to create a striped design. This is a fun way to coordinate your potholders with your kitchen decor or create personalized gifts.
Can I sell potholders made from this pattern?
You can make potholders for yourself, family, friends, or to give as gifts. If you plan to sell finished items, be sure to follow any pattern-specific permissions that apply.
More Easy Crochet Projects
If you enjoy making quick and useful crochet projects, be sure to check out more of my free crochet patterns.
Crochet dishcloths, dish towels, potholders, and other kitchen accessories make wonderful handmade gifts. They are practical, fun to make, and a great way to use your favorite cotton yarn colors.
Whether you’re a beginner learning new stitches or an experienced crocheter looking for a quick project, I hope you enjoy making this easy crochet potholder!
Want More Crafting Ideas?
We add new projects weekly. Make sure and check all of our current projects available: