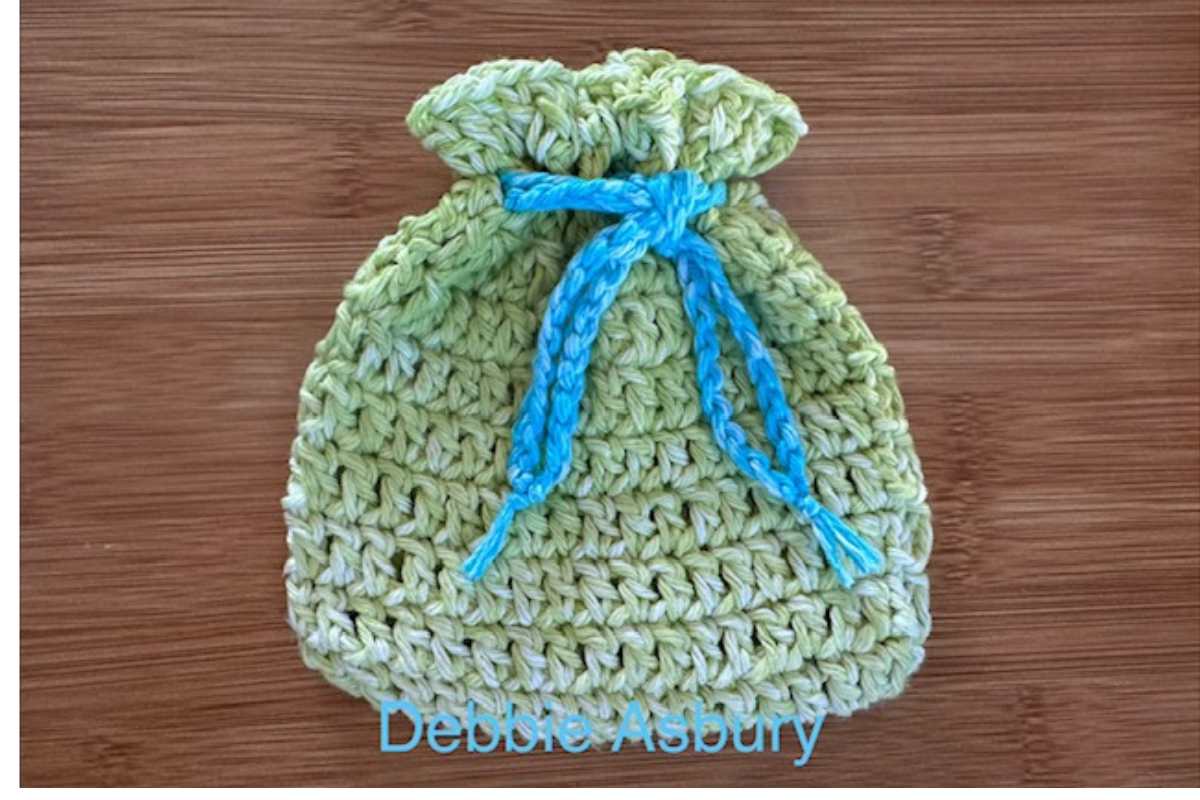
If you’re looking for a quick and easy crochet project, this crochet drawstring pouch pattern is a great place to start! It’s simple enough for beginners, uses basic crochet stitches, and makes something you’ll actually find useful.
I wanted a small pouch where I could keep my necklaces, rings, earrings, and other little pieces of jewelry when heading to the gym or going to the pool. I needed something small enough to toss into my bag without taking up much room but large enough to hold my everyday jewelry.
That’s what makes this little crochet pouch so handy! The drawstring closure keeps everything tucked inside, and the compact size makes it easy to carry wherever you go.
It’s also a fun project for using up leftover yarn. You can make one in your favorite colors or use coordinating scraps to create something unique.
These little pouches also make wonderful handmade gifts. Fill one with candy, jewelry, or small trinkets for a thoughtful Christmas gift or a little surprise for someone special.
Why You’ll Love This Crochet Drawstring Pouch Pattern
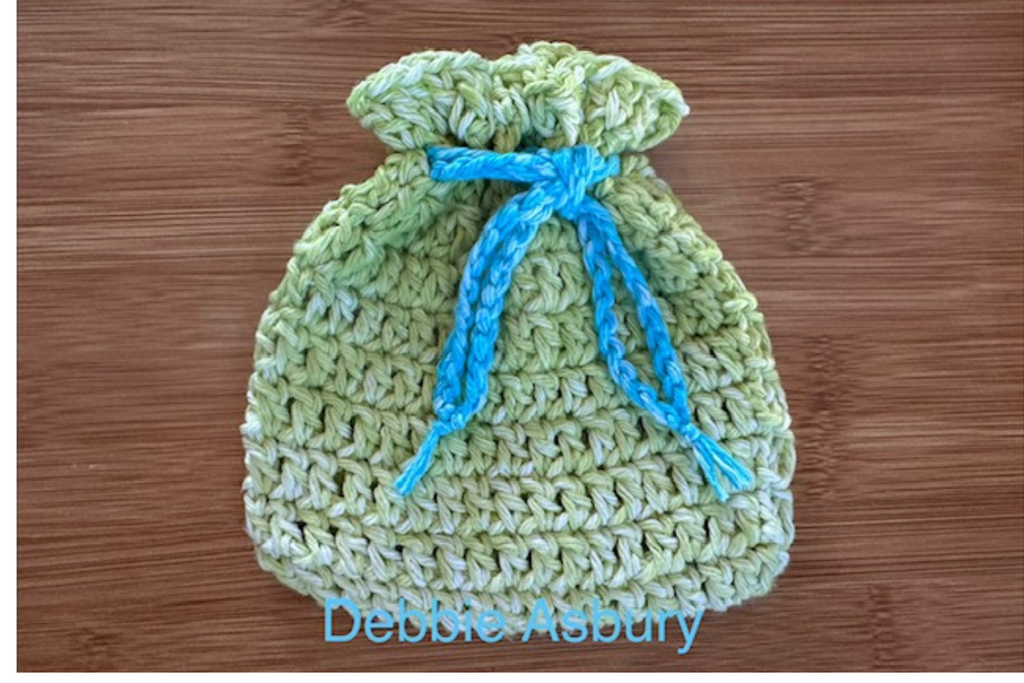
There are several reasons this is a great little crochet project:
- Beginner-friendly: This Crochet Drawstring Pouch Pattern uses basic stitches and simple construction.
- Quick to make: Experienced crocheters may finish in 30–45 minutes, while someone brand new to crochet may need up to two hours.
- Uses leftover yarn: A small amount of yarn is all you need.
- Practical: Perfect for storing jewelry, small accessories, or other little essentials.
- Great for gifts: Fill it with candy or small trinkets to make a sweet handmade present.
- Easy to customize: Adjust the starting chain or add more rounds to change the size.
Materials You’ll Need for Crochet Drawstring Pouch Pattern
You don’t need much to make this crochet drawstring pouch.
- Worsted weight (#4) yarn in one color for the pouch.
- Coordinating worsted weight yarn for the drawstrings.
- 5 mm crochet hook
- Scissors
- Tapestry needle
Yarn Tip: You can use either cotton or acrylic yarn for this project. It’s also a great way to use up leftover yarn from other crochet projects.
Skill Level
Beginner
This Crochet Drawstring Pouch Pattern is a wonderful project for someone learning to crochet. You’ll practice making chains, double crochet stitches, slip stitches, and working in the round.
The pouch is worked from the bottom up, with a simple oval base and straight sides. The drawstring opening is created using chain spaces, and two crochet chains are threaded through to create the closure.
Finished Size
The finished size for this Crochet Drawstring Pouch Pattern will vary depending on your starting chain, yarn, and tension.
You can adjust the width by changing the starting chain:
- Smaller pouch: Chain 11
- Standard pouch: Chain 15
- Larger pouch: Chain 19
You can also make the pouch shorter or taller by working fewer or additional rounds before starting the drawstring section.
Crochet Abbreviations
This pattern uses standard US crochet terminology.
- ch = chain
- dc = double crochet
- sl st = slip stitch
- st(s) = stitch(es)
- sk = skip
- YO = yarn over
Special Notes Before You Begin
- The starting chain determines the width of your pouch.
- The number of rounds determines the height.
- The standard pouch uses 26 double crochet stitches around.
- Keep your joining slip stitches small and tight to help prevent the seam from slanting.
- Use a stitch marker to help identify the beginning of each round if needed.
How to Crochet the Drawstring Pouch
Starting Chain
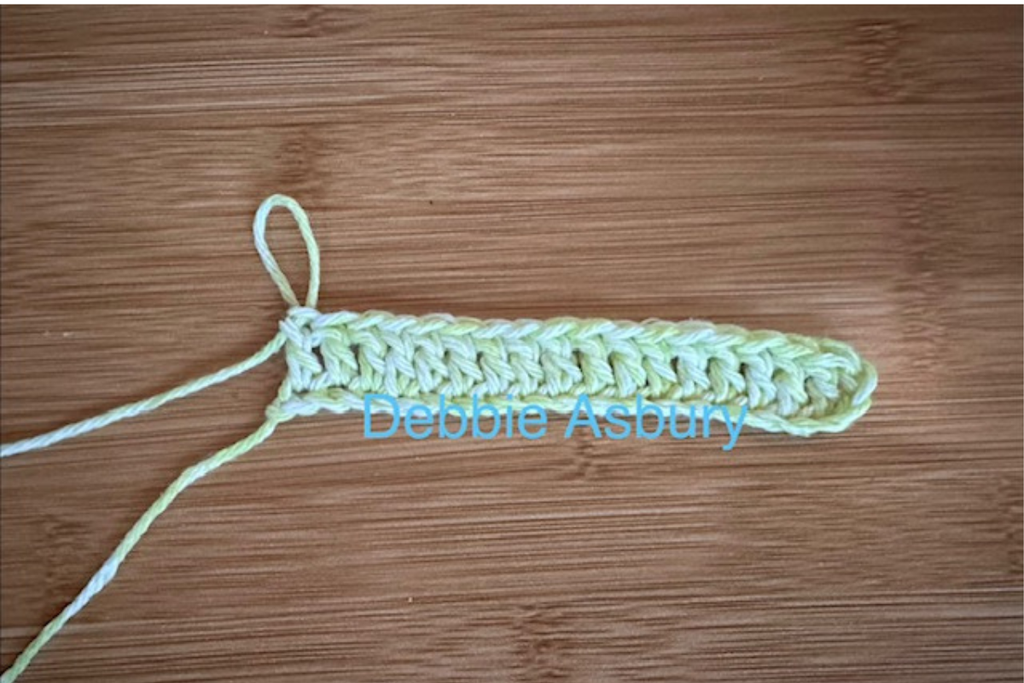
Make a slip knot and chain 15.
For different sizes:
- Smaller pouch: Chain 11.
- Larger pouch: Chain 19.
Round 1: Creating the Base
- Work 1 dc in the third chain from your hook.
- Work 1 dc in each remaining chain across. You should have 13 dc.
- Rotate your work clockwise to crochet along the opposite side of the starting chain.
- Work 1 dc into the last chain you just worked in.
- Continue working 1 dc into each chain along the opposite side.
- When you reach the end, do not work into the two chains that were skipped at the beginning.
You should have 13 dc on this side, for a total of 26 dc around.
Join with a sl st to the first dc. Pull the slip stitch firmly so it stays small and doesn’t look like a regular stitch.
Make sure your base is curling downward rather than upward.
Round 2
- Ch 2.
- Work 1 dc into the same stitch that you slip stitched to at the end of the previous round.
- Work 1 dc in each stitch around.
- You should have 26 dc.
- Sl st to the first dc to join. Tighten the slip stitch.
Round 3
- Ch 2.
- Work 1 dc into the same stitch that you slip stitched to at the end of the previous round.
- Work 1 dc in each stitch around.
- You should have 26 dc.
- Sl st to the first dc to join. Tighten the slip stitch.
Rounds 4–8
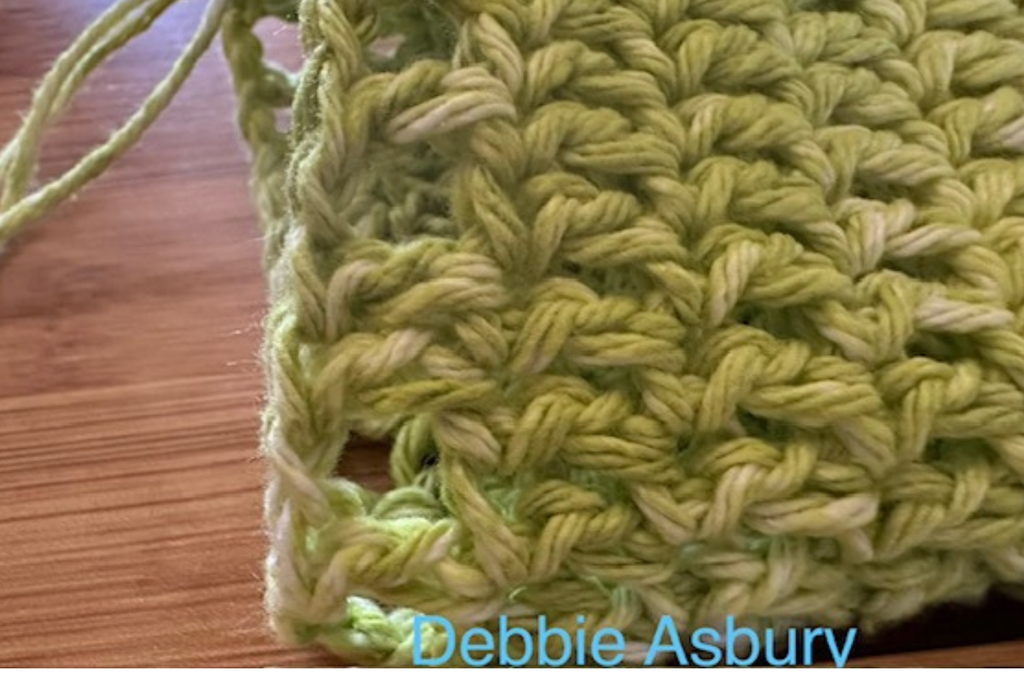
Repeat Round 3.
Continue working 1 dc in every stitch around, keeping 26 dc in each round.
For the tutorial pouch, work a total of 8 rounds before beginning the drawstring section.
You can work fewer rounds for a shorter pouch or more rounds for a taller pouch.
Round 9: Creating the Drawstring Opening
Ch 3.
- Work 1 dc in the first stitch.
- Ch 1, skip the next stitch, and work 1 dc in the 2nd stitch.
- Repeat this sequence around: Ch 1, sk the next stitch, and work 1 dc in the following stitch.
Continue until you have 6 chain spaces and reach the left side of your pouch.
Work another dc so that the left edge of your pouch has 2 dc together.
Ch 1, skip the next stitch, and work 1 dc in the following stitch.
Continue repeating the pattern to the end of the round. You should have 6 chain spaces on this side as well.
Sl st to the first dc to join.
Round 10: Final Round
Ch 2.
- Work 1 dc in the first stitch.
- Work 1 dc into the next ch-1 space.
- Work 1 dc into the next stitch.
Continue working 1 dc into each chain space and 1 dc into each stitch around.
When you reach the left edge of the pouch, work 1 dc into each of the two stitches there.
Continue working 1 dc into each chain space and each stitch until you reach the end.
Make sure you don’t miss the last stitch.
Sl st to join.
Fasten Off
Ch 1.
Cut your yarn, leaving a tail.
Pull the yarn through the loop on your hook and tighten.
Weaving in the Ends
Thread the yarn tail onto a tapestry needle.
Turn the pouch inside out and weave the yarn through the loops on the inside of the pouch.
- Work down under the loops at the bottom of the last row.
- Pull the yarn through without pulling too tightly.
- Work to the left under the loops at the bottom of the double crochets.
- Work down under the loops of a double crochet, going down approximately two rows.
- Work toward the right under the loops at the bottom of the double crochets.
- Pull through and trim the remaining yarn.
Weave in the remaining loose end.
Making the Drawstrings
You’ll need two separate drawstrings.
Using your coordinating yarn:
- Make a slip knot.
- Chain 40.
- Cut the yarn, leaving a short tail, and pull through the loop to fasten off.
- Repeat to make the second drawstring.
Each drawstring should measure approximately twice the width of your pouch, plus a little extra at each end.
The tutorial drawstring measures approximately 23 cm.
You can make the chains shorter or longer depending on the size of your pouch.
Adding the Drawstrings
Now it’s time to add the drawstrings so your pouch can open and close!
You’ll be working through the chain spaces on the front and back of the pouch.
First Drawstring
- Flatten the pouch.
- Work only through the top layer of the pouch.
- Starting on the right side, insert your hook into the chain space all the way on the right.
- Bring your hook behind the double crochet.
- Bring it out through the space to the left of that stitch.
- Continue going over one stitch and under the next stitch, repeating this movement through the six spaces.
- Hook the drawstring onto your crochet hook and pull it through.
Turn the pouch over.
- Starting from the left side, repeat the same process on the opposite side.
- Pull the drawstring through.
- Make sure the ends of the drawstring are even.
Second Drawstring
- Take your second drawstring.
- Starting from the opposite side, thread it through the same three stitches, following the same over-and-under method.
- Turn the pouch over.
- Repeat on the opposite side.
- Pull the drawstring through and make sure the ends are even.
You should now have two drawstrings with ends coming out on both sides of the pouch.
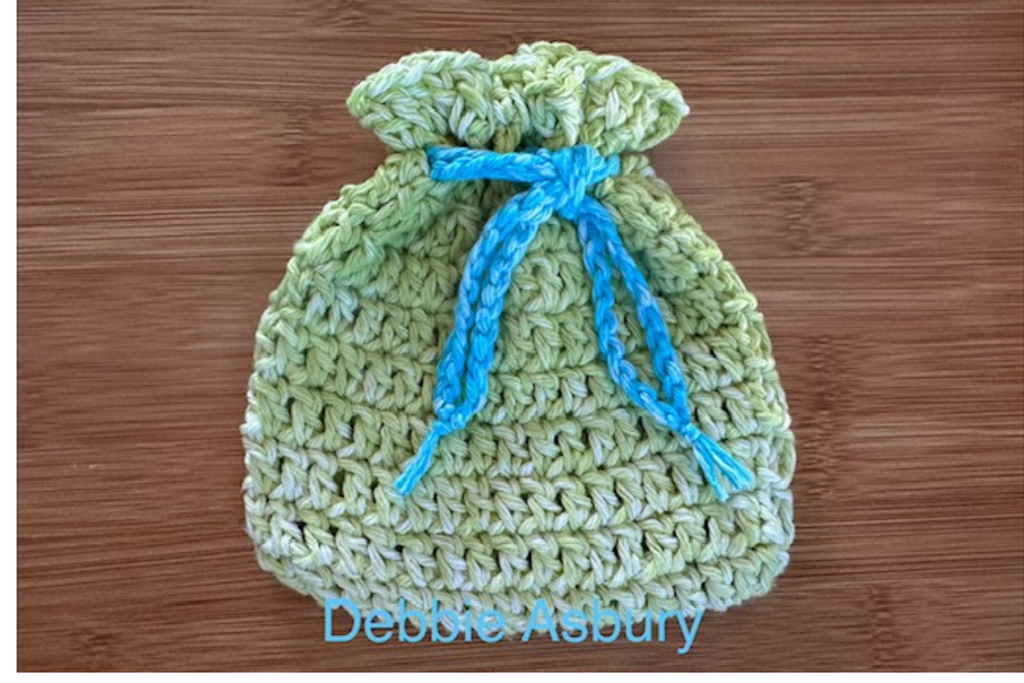
[Photo: Show both drawstrings threaded through the pouch.]
Finishing the Drawstrings
You can tie the ends together with a double knot if desired.
Line up the chains and trim approximately 1 inch from the ends.
Repeat on the opposite side.
Your crochet drawstring pouch is finished!
Ways to Use Your Crochet Drawstring Pouch Pattern
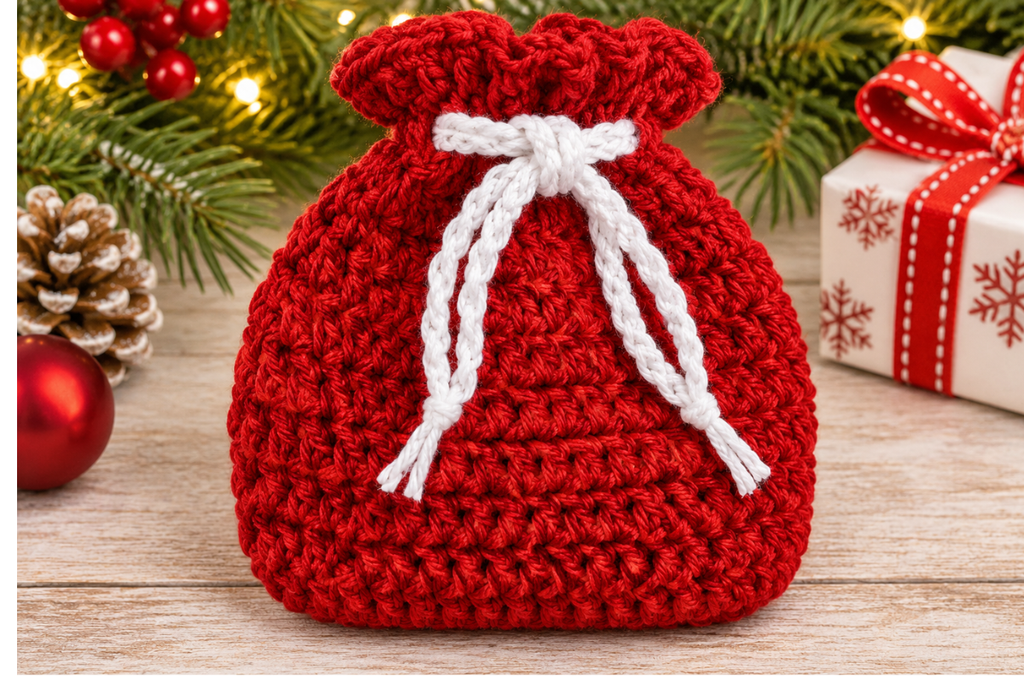
One of the best things about this little Crochet Drawstring Pouch Pattern is how many ways you can use it.
Here are a few ideas:
- Jewelry pouch: Keep necklaces, earrings, and rings together when heading to the gym, pool, or traveling.
- Gift pouch: Fill it with candy, chocolates, or small trinkets for Christmas.
- Small accessory bag: Store hair ties, clips, or other little items.
- Travel pouch: Keep small essentials together inside your purse or suitcase.
- Handmade gift: Make several in different colors for friends and family.
You can also make a few different sizes to suit different needs!
Frequently Asked Questions
Is this crochet drawstring pouch pattern good for beginners?
Yes! This is a great beginner crochet pattern. It uses basic stitches, including chains, double crochet, and slip stitches. You’ll also get practice working in the round.
How long does it take to crochet this pouch?
If you’ve been crocheting for a while, you may finish in approximately 30–45 minutes. If you’re brand new to crochet, allow up to two hours so you have plenty of time to work through the instructions.
What type of yarn should I use?
Worsted weight (#4) yarn works for this pattern. You can use cotton or acrylic yarn, depending on your preference.
Can I use leftover yarn?
Absolutely! This is a wonderful scrap-yarn project. You only need a small amount of yarn for the pouch and another small amount for the drawstrings.
Can I make the pouch larger or smaller?
Yes! Change the starting chain to adjust the width. Chain 11 for a smaller pouch or 19 for a larger pouch. You can also add or remove rounds to adjust the height.
What can I put inside a crochet drawstring pouch?
These little pouches are perfect for jewelry, small accessories, candy, and little trinkets. They’re also great for keeping small items together inside a purse or gym bag.
Can I make this pouch as a Christmas gift?
Definitely! Make a few in festive colors and fill them with candy, jewelry, or small gifts. They’re a thoughtful handmade gift that’s both cute and useful.
Final Thoughts
I hope you enjoy making this easy crochet drawstring pouch pattern! It’s one of those little projects that doesn’t require much yarn or time but gives you something useful when you’re finished.
If you’re learning to crochet, this is a great way to practice basic stitches and build your confidence. And if you’ve been crocheting for years, it’s a fun little project you can finish in no time.
Make one for yourself, fill a few with little gifts, or use up some of those leftover yarn scraps you’ve been saving.
Love Crafting??
Check out our ever growing crafting projects
- Crochet Patterns
- Coloring Pages
- Quilt Patterns
- Cross stitch patterns
Leave a Reply