Barn Quilt Coaster
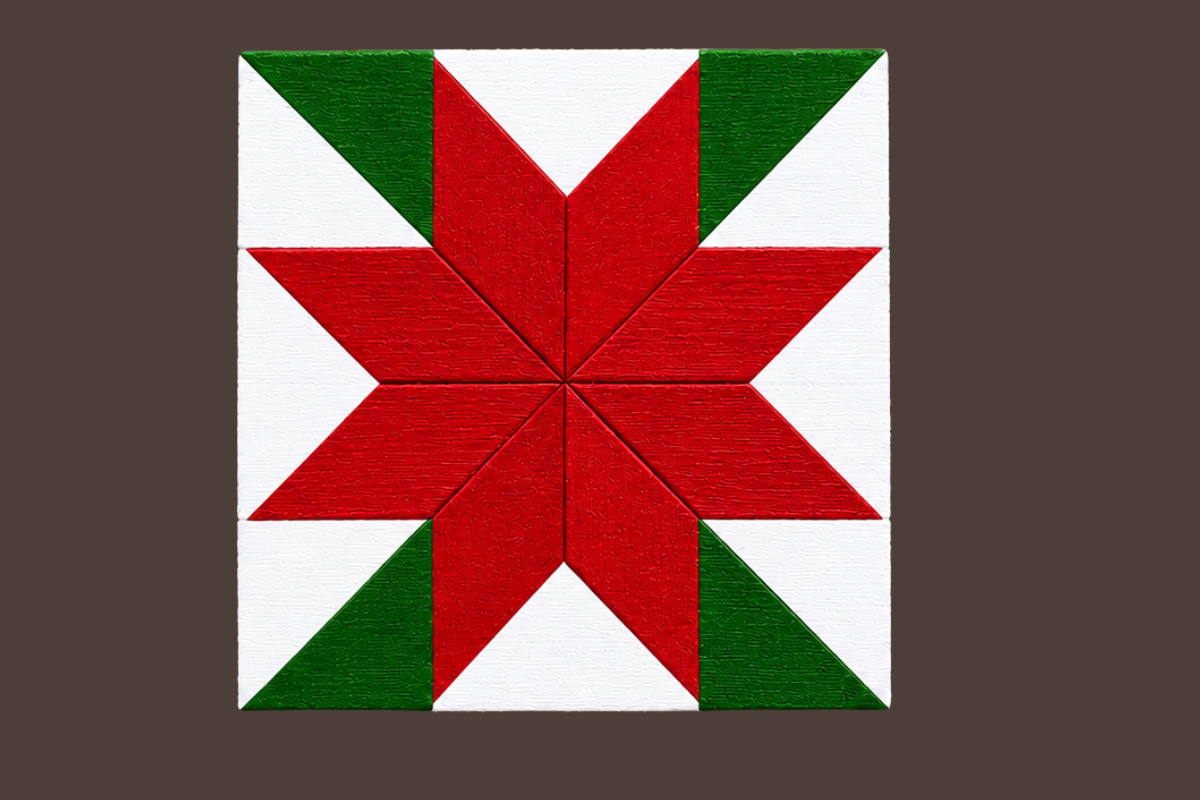
If you love the look of traditional barn quilts, this little barn quilt coaster project is such a fun way to bring that style into your home! I’ve always loved barn quilts, but it’s not always practical to have a bunch of them hanging around the house. That’s why I thought it would be fun to create a smaller version that you can actually use.
This Barn Quilt Coaster is an easy painting project that turns a simple 4 × 4-inch wooden square into an adorable piece of home decor. I painted mine in Christmas colors, using red, green, and white, but you can easily change the colors to match your favorite season or home decor.
These would be so cute displayed on a coffee table, used when entertaining guests, or made as handmade gifts for friends and family.
The best part? You don’t have to be an experienced painter to make one! I’ll walk you through the process step by step, and you can use the painting guide below to help you place each color.
If you’d prefer to have a printable copy of the pattern and instructions, I’ve also included an optional PDF you can purchase.
Supplies Needed
Here is what you’ll need to make your Barn Quilt Coaster:
- 4 × 4-inch wooden square, ¼ inch thick
- Acrylic craft paint in white or cream for the background
- Acrylic craft paint in red and green, or your choice of colors
- Small paintbrushes
- Ruler
- Pencil
- Painter’s tape
- Clear protective sealer
- Optional: Small felt pads for the bottom
Barn Quilt Coaster Painting Guide
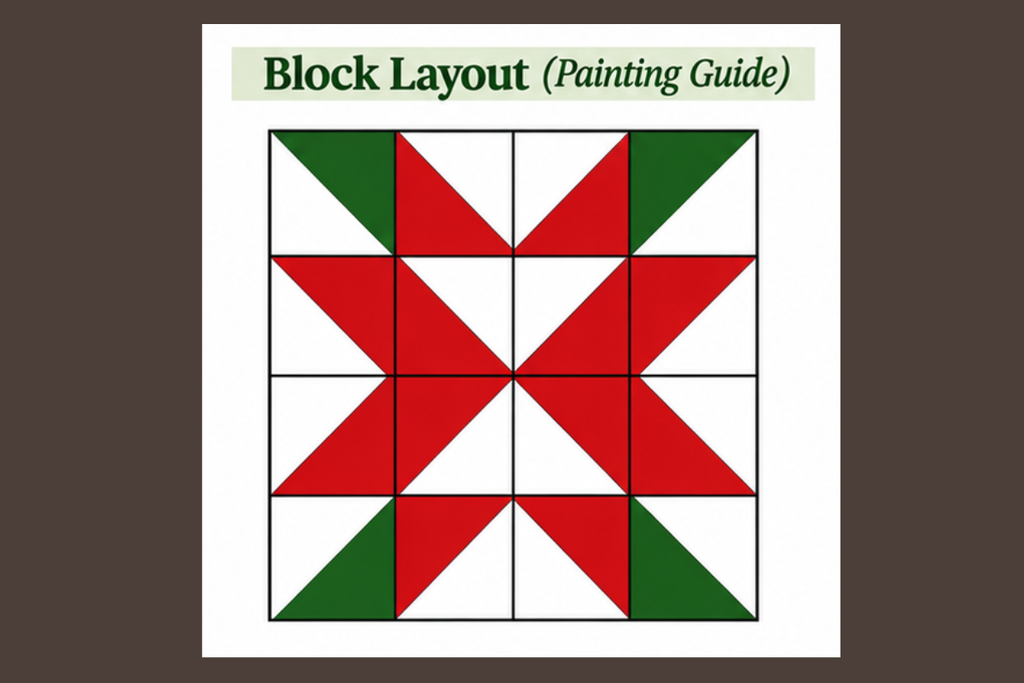
Before you begin painting, take a look at the color placement guide below.
The design uses a combination of squares and diagonal lines to create the traditional barn quilt star pattern. My example uses red, green, and white, but you can substitute your favorite colors.
How to Paint a Barn Quilt Coaster
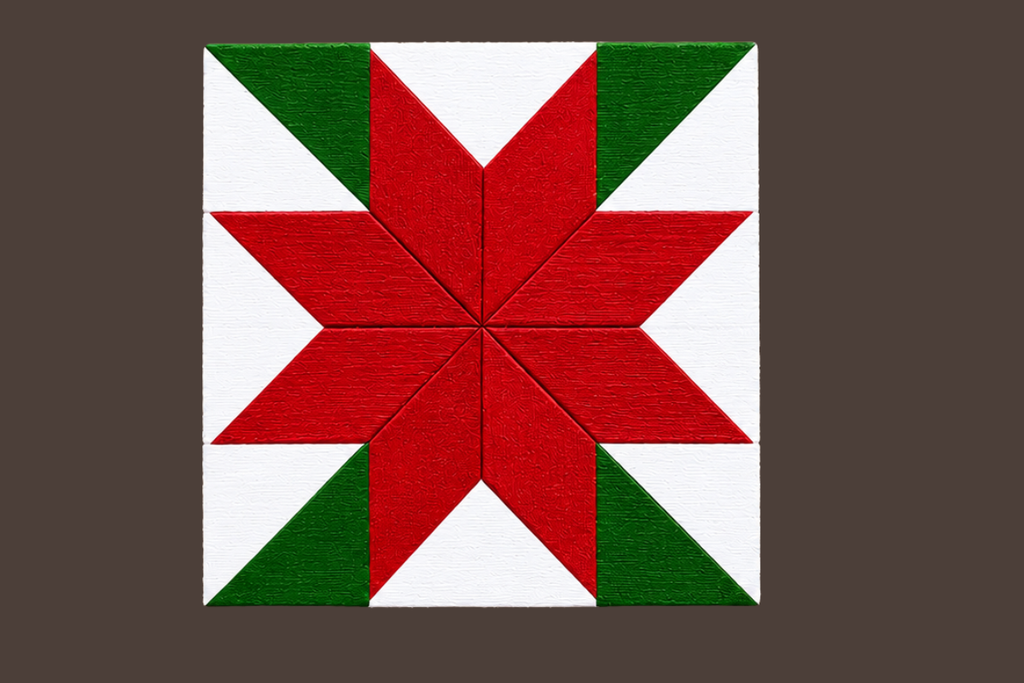
Step 1: Paint the Background
Start by painting the entire 4 × 4-inch wooden square with white or cream acrylic paint. This will be your background color.
Make sure you cover the entire surface evenly and allow the paint to dry completely before moving on to the next step.
Don’t skip this step! You’ll want your background color in place before drawing your grid and applying painter’s tape.
Step 2: Draw Your Grid
Once the background paint is dry, grab your ruler and pencil.
Your wooden square measures 4 × 4 inches, so you’ll divide it into four equal sections in each direction.
Measure and lightly mark the wood at 1-inch intervals along each side. Use your ruler to connect the marks, drawing both horizontal and vertical lines.
You should now have a grid of sixteen equal squares, each measuring 1 × 1 inch.
Using your pencil, lightly draw the diagonal lines in the individual squares according to the painting guide. These diagonal lines will divide the squares into triangles and help you determine where each paint color belongs.
Be sure to use a light pencil mark. You don’t want to press too hard because you’ll want to erase any visible pencil marks after painting.
Step 3: Tape Off Your Design
Now it’s time to grab your painter’s tape!
Using the painting guide as your reference, tape off the sections that you want to paint first. The painter’s tape will help you create nice, clean lines between the different colors.
Press the tape down firmly, especially along the edges, to help prevent paint from bleeding underneath.
Take your time with this step. The geometric design is what gives the barn quilt its traditional look.
Step 4: Paint Your First Color
Once you’ve taped off the sections, use your acrylic paint to fill in the exposed areas with your first color.
For my Christmas version, I’m using red and green.
Allow the paint to dry before carefully removing the painter’s tape. If you are in a hurry, you can use a hair dryer on a low setting to help speed up the drying process.
Just be careful not to hold the hair dryer too close to the wood.
Step 5: Continue Painting the Design
Continue moving your painter’s tape and painting the remaining sections according to the color placement guide.
You’ll repeat the same process of taping, painting, allowing the paint to dry, and removing the tape until you’ve completed the entire design.
Remember, you don’t have to use Christmas colors! You could use blue and white, pink and green, traditional fall colors, or any combination that matches your home.
Once all the sections are painted, allow everything to dry completely.
Step 6: Apply a Protective Sealer
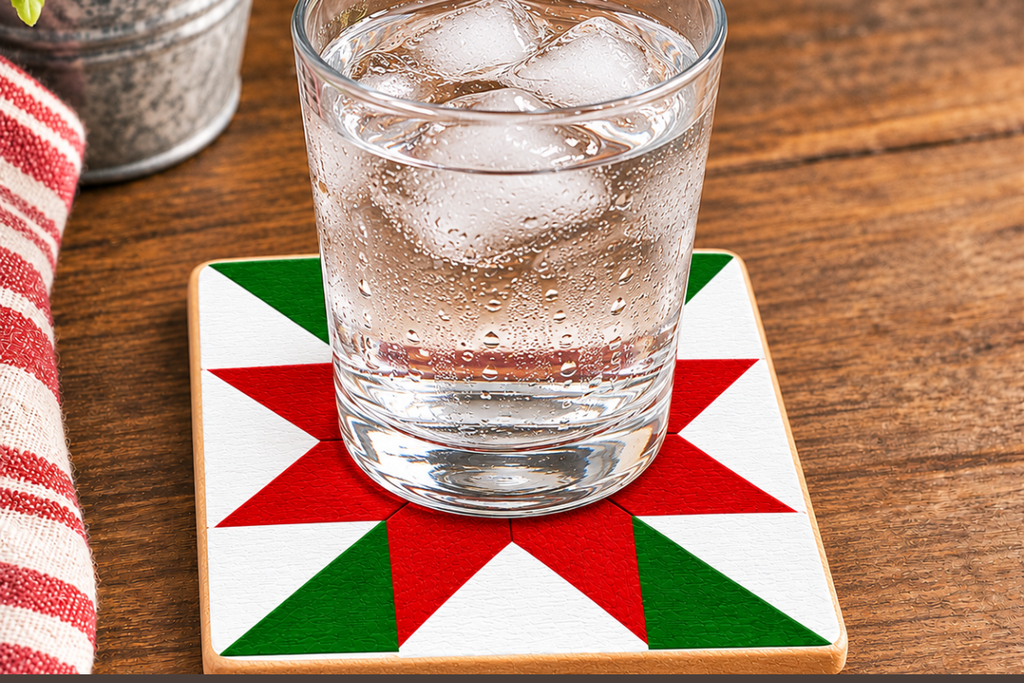
If you’re planning to use your barn quilt as a coaster, you’ll want to protect the painted surface with a clear protective sealer.
Apply a clear sealer that is suitable for painted wood and moisture exposure. Follow the manufacturer’s directions for the number of coats and drying time.
Make sure the sealer has fully cured before placing drinks on your coaster. This will help protect your design from moisture and everyday use.
Step 7: Add Felt Pads (Optional)
If you’d like, you can add small felt pads to the bottom corners of your coaster.
These are optional, but they can help prevent the wooden coaster from scratching your table or other furniture.
Make Your Own Color Combination
One of my favorite things about this project is how easy it is to change the colors!
I made my first Barn Quilt Coaster using red, green, and white for a Christmas look. But you could easily create a completely different look by changing the paint colors.
Think about using blue and white for a farmhouse look, soft pink and green for spring, or orange and brown for fall.
You could even make a collection of coasters using different color combinations to display throughout the year.
Want More Crafting Ideas?
We add new projects weekly. Make sure and check all of our current projects available: